

Table of Contents
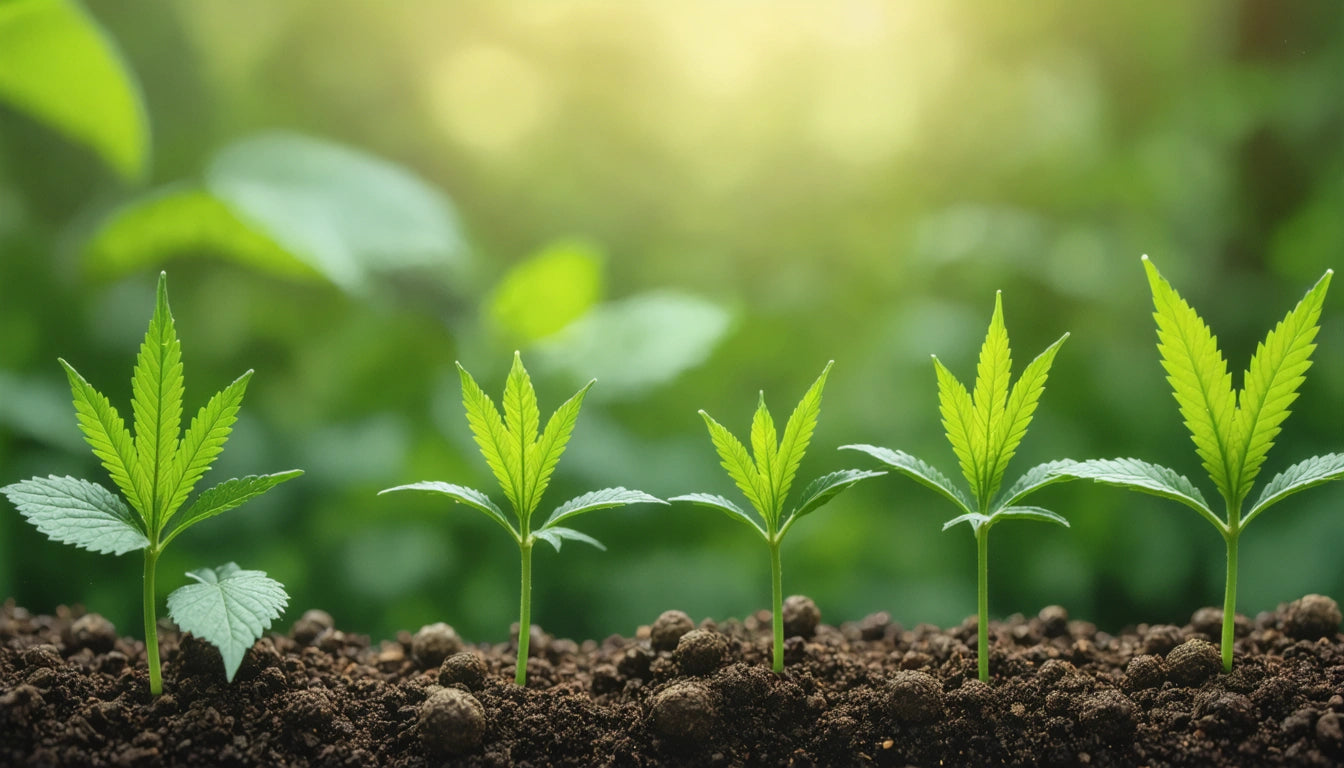
Germination is the crucial first step in the cannabis cultivation journey. This process awakens dormant seeds, triggering the emergence of the taproot that will develop into a thriving plant. Successful germination sets the foundation for healthy growth and ultimately determines your harvest potential. This guide covers proven methods and essential techniques to maximize your germination success rate.
Understanding Cannabis Seed Germination
Cannabis seed germination is a biological process where the seed absorbs water, causing it to swell and break open its protective shell. This activates enzymes that convert stored nutrients into energy, fueling the development of the embryonic plant. The first visible sign of successful germination is the emergence of a small white taproot.
Germination typically takes 24-72 hours but can extend to 10 days depending on seed genetics, age, and environmental conditions. Autoflowering and photoperiod strains may have slightly different germination timeframes, with autoflowers often sprouting more quickly.
Essential Pre-Germination Steps
Seed Selection and Quality Assessment
Start with high-quality seeds that are dark brown with tiger-like stripes. Avoid pale, green, or white seeds as they're typically immature. Quality seeds feel firm when gently squeezed and don't crack or crumble. Some cultivators use the float test: place seeds in distilled water for 2 hours. Those that sink are likely viable, while floating seeds may have reduced germination potential.
Storage Considerations
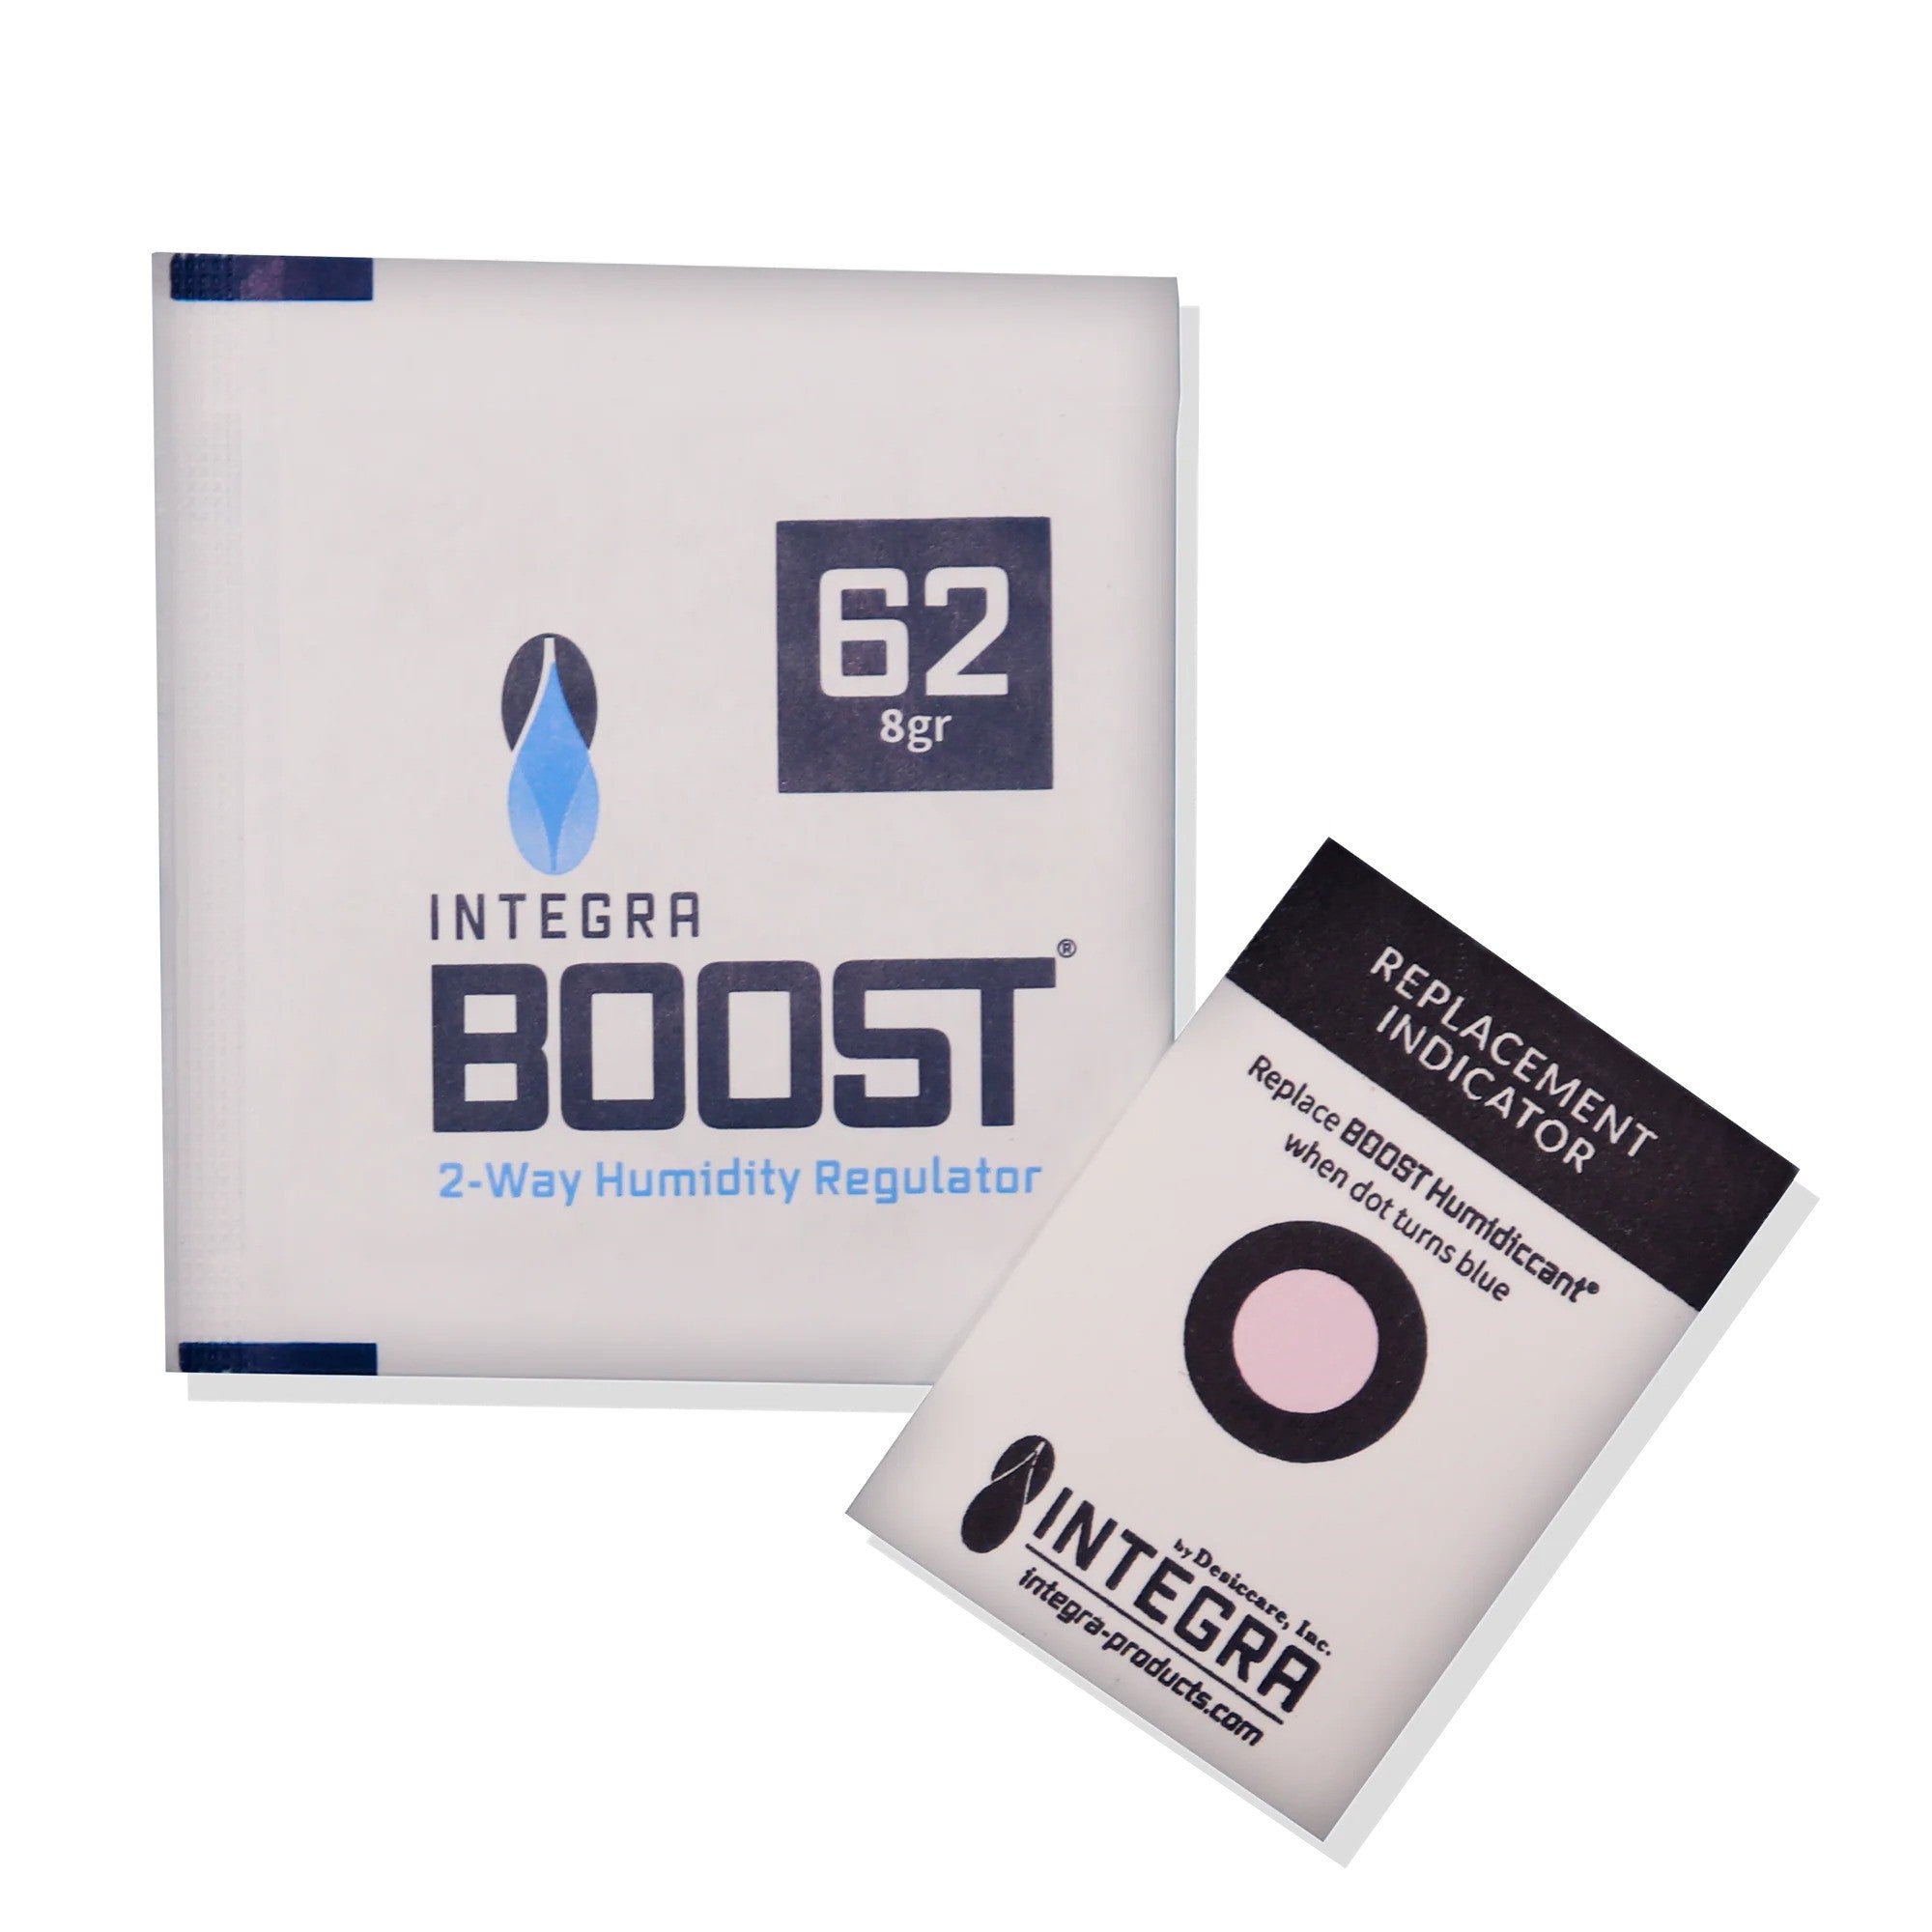
Proper seed storage significantly impacts viability. Store seeds in a cool, dark place with consistent temperature (around 40 °F or 4 °C) and low humidity (20-30%). Refrigeration in an airtight container with a desiccant packet can extend seed viability for years. Always allow refrigerated seeds to reach room temperature before germination to prevent condensation that could trigger premature sprouting.
Proven Germination Methods
The Paper Towel Method
This popular technique involves:
- Moistening paper towels with distilled water until damp but not soaking wet
- Placing seeds between the towels on a plate
- Covering with another plate to create darkness and retain moisture
- Keeping in a warm location (70-85 °F)
- Checking daily and maintaining moisture levels
- Transplanting once taproots reach 0.5-0.75 inches long
Direct Soil Planting
Some growers prefer planting directly into the growing medium:
- Use light, aerated starter soil or seed-starting mix
- Create 0.25-0.5 inch holes in pre-moistened soil
- Place one seed per hole, pointed end up if visible
- Cover lightly with soil and mist the surface
- Maintain warm, humid conditions using a dome or plastic wrap
This method reduces transplant shock but makes monitoring germination progress more difficult. For best results, use quality growing mediums as discussed in our guide to soil and hydroponic setups.
Water Soaking Method
Some cultivators begin with a brief water soak:
- Place seeds in a glass of distilled water at room temperature
- Allow to soak for 12-24 hours maximum
- Transfer to paper towels or directly to soil once seeds sink or show signs of cracking
This method can speed up germination for older or harder seeds but risks drowning if soaked too long.
Optimal Conditions for Successful Sprouting
Temperature management is critical during germination. Maintain a consistent 75-80 °F (24-27 °C) for optimal results. Heating mats designed for seedlings can help maintain stable temperatures. Humidity should be kept around 70% to prevent seeds from drying out while avoiding excess moisture that could cause rot.
Light is not necessary during germination, but once the seedling emerges from the growing medium, provide gentle light. A proper light cycle with low-intensity lighting prevents stretching while encouraging healthy development.
Transplanting and Early Seedling Care
Once your seeds have sprouted and developed small taproots, they're ready for transplanting if you used the paper towel method. Handle seedlings with extreme care, never touching the taproot directly. Instead, use sterilized tweezers to hold the seed casing.
When transplanting:
- Pre-moisten the destination growing medium
- Create a small hole about 0.25-0.5 inches deep
- Place the sprouted seed with the taproot pointing down
- Cover gently with a thin layer of growing medium
- Mist lightly to ensure good contact between root and soil
During the first week after transplanting, maintain high humidity (65-70%) by using a humidity dome or plastic cover with ventilation. Gradually reduce humidity as seedlings establish. For more information on preventing issues during this vulnerable stage, refer to our guide on preventing mold and pests.
Troubleshooting Common Germination Issues
Even experienced growers encounter germination challenges. Here are solutions to common problems:
- Seeds not germinating: Check temperature, moisture levels, and seed quality. Old or improperly stored seeds have lower viability.
- Seeds germinate but die quickly: Often caused by damping off (fungal disease). Ensure proper air circulation and avoid overwatering.
- Seedlings stretching: Indicates insufficient light. Move light source closer or increase intensity.
- Curling or discolored leaves: May indicate nutrient issues or pH imbalance. Refer to our guide on identifying plant deficiencies.
For persistent issues, consider using specialized equipment like quality preparation tools that can help process growing materials more effectively and create optimal conditions for seed starting.
Advanced Techniques for Maximizing Germination Success
For cultivators seeking to optimize germination rates, several advanced techniques can be employed. Seed scarification, which involves gently abrading the outer shell, can help older or particularly hard seeds absorb water more efficiently. This can be done by gently rubbing seeds between fine sandpaper or making a tiny nick in the shell with a sterilized blade.
Some growers also use mild hydrogen peroxide solutions (0.5%) when soaking seeds to disinfect the outer shell and provide additional oxygen that can stimulate germination. Others incorporate beneficial microbes into their germination medium to establish healthy root colonization from the start.
As seedlings develop their first true leaves, they'll begin requiring nutrients. Start with appropriate nutrients for the seedling stage at quarter strength to prevent burning the delicate plants. Monitor closely for signs of deficiencies or excesses, adjusting accordingly.
By following these methods and maintaining optimal conditions, you'll establish a strong foundation for your cannabis plants. Remember that patience and attention to detail during germination often translate to healthier plants and more abundant harvests in the months to come.
Leave a comment
All comments are moderated before being published.
This site is protected by hCaptcha and the hCaptcha Privacy Policy and Terms of Service apply.