Table of Contents
How to Make and Use a Dab Rig: A Comprehensive Guide
Dab rigs have become increasingly popular for consuming cannabis concentrates, offering potent effects and flavorful experiences. Whether you're looking to create a DIY solution or learn proper techniques for using a store-bought rig, this guide covers everything you need to know about making and using dab rigs effectively and safely.
Understanding Dab Rigs: Components and Functions
Before diving into how to make or use a dab rig, it's essential to understand what makes up a standard dab rig and how each component functions in the dabbing process.
Essential Components
- Base/Water Chamber: Holds water for filtration and cooling
- Nail or Banger: The heating element where concentrates are vaporized
- Dome: Covers the nail to capture vapor (not needed with domeless nails)
- Dabber Tool: Used to apply concentrate to the heated nail
- Carb Cap: Regulates airflow and optimizes vaporization
- Torch: Heats the nail (unless using an e-nail)
According to this guide on understanding dab rigs, water plays a crucial role in the dabbing experience. So, yes, you do put water in a dab rig. The water cools the vapor and filters out impurities, resulting in a smoother hit.
Creating Homemade Dab Rigs: DIY Options
Learning how to make a homemade dab rig can be useful when commercial options aren't available or when you're on a budget. Here are several methods to create functional DIY dab rigs:
Water Bottle Dab Rig
To make a dab rig with a water bottle:
- Start with a clean plastic bottle
- Create a hole near the top for your downstem
- Insert a metal or glass downstem at an angle
- Attach a small metal bowl or nail to the downstem
- Add water to cover the bottom of the downstem
- Create a small carb hole for airflow control
While functional, these temporary solutions should use proper safety containers with child-resistant features for storing any concentrates, as improvised rigs lack the safety features of commercial products.
Mason Jar Method
A more durable homemade option involves:
- Drilling two holes in a mason jar lid
- Installing a downstem with nail in one hole
- Creating a mouthpiece with tubing in the second hole
- Filling the jar with enough water to submerge the downstem tip
- Sealing all connections with heat-resistant materials
For more detailed instructions on creating concentrates for your homemade rig, check out this guide on making dabs.
Using a Dab Rig Properly: Step-by-Step Guide
Learning how to use a dab rig effectively takes practice. Follow these steps for the best experience:
Traditional Hot Dabbing Method
- Fill your rig with water just above the percolator
- Prepare a small amount of concentrate on your dabber tool
- Heat the nail/banger with a torch until it glows red
- Allow cooling for 30-45 seconds (quartz) or 10-15 seconds (titanium)
- Apply the concentrate to the inner walls of the banger
- Cover with a carb cap immediately
- Inhale slowly and steadily
- Clear the chamber and exhale
As explained in this guide on cold start dabbing, timing is crucial when learning how to hit a dab rig. Too hot, and you'll burn the concentrate; too cool, and it won't vaporize properly.
Using a Dab Rig with a Banger
Bangers are the most common nail type today. When using a dab rig with a banger:
- Heat the bottom and sides evenly
- Let cool according to material (30-45 seconds for quartz)
- Apply concentrate to the bottom of the banger
- Cap immediately with a carb cap
- Rotate the cap to control airflow while inhaling
Dab Rig Maintenance and Cleaning
Regular maintenance ensures optimal performance and flavor from your dab rig:
- Change water daily to prevent bacterial growth
- Clean your banger after each use with a cotton swab
- Deep clean weekly with isopropyl alcohol and coarse salt
- Soak removable parts in cleaning solution
- Rinse thoroughly with warm water
- Allow to dry completely before next use
For detailed cleaning instructions, refer to this ultimate guide to cleaning your dab rig.
Safety Considerations for Dabbing
Safety should always be your priority when using or making dab rigs:
- Never leave torches unattended
- Use on stable, heat-resistant surfaces
- Keep hair and loose clothing away from flames
- Store concentrates in proper containers away from children
- Start with small amounts, especially for beginners
- Allow hot components to cool completely before handling
- Avoid using plastic parts that may melt or release toxins
For a comprehensive overview of safety practices, check out this ultimate guide to dabs safety.
Advanced Techniques and Innovations in Dabbing
Cold Start Dabbing
Also known as "reverse dabbing," this technique involves:
- Placing concentrate in the cold banger first
- Applying heat until the concentrate begins to vaporize
- Capping immediately and inhaling
- Stopping heat once vapor production begins
This method preserves terpenes and offers better flavor.
Using Terp Pearls and Spinner Caps
When learning how to use dab rig with balls (terp pearls):
- Place 1-3 quartz or ruby pearls in your banger
- Heat and cool as normal
- Apply concentrate
- Use a directional or spinner carb cap
- The pearls will spin, distributing heat evenly
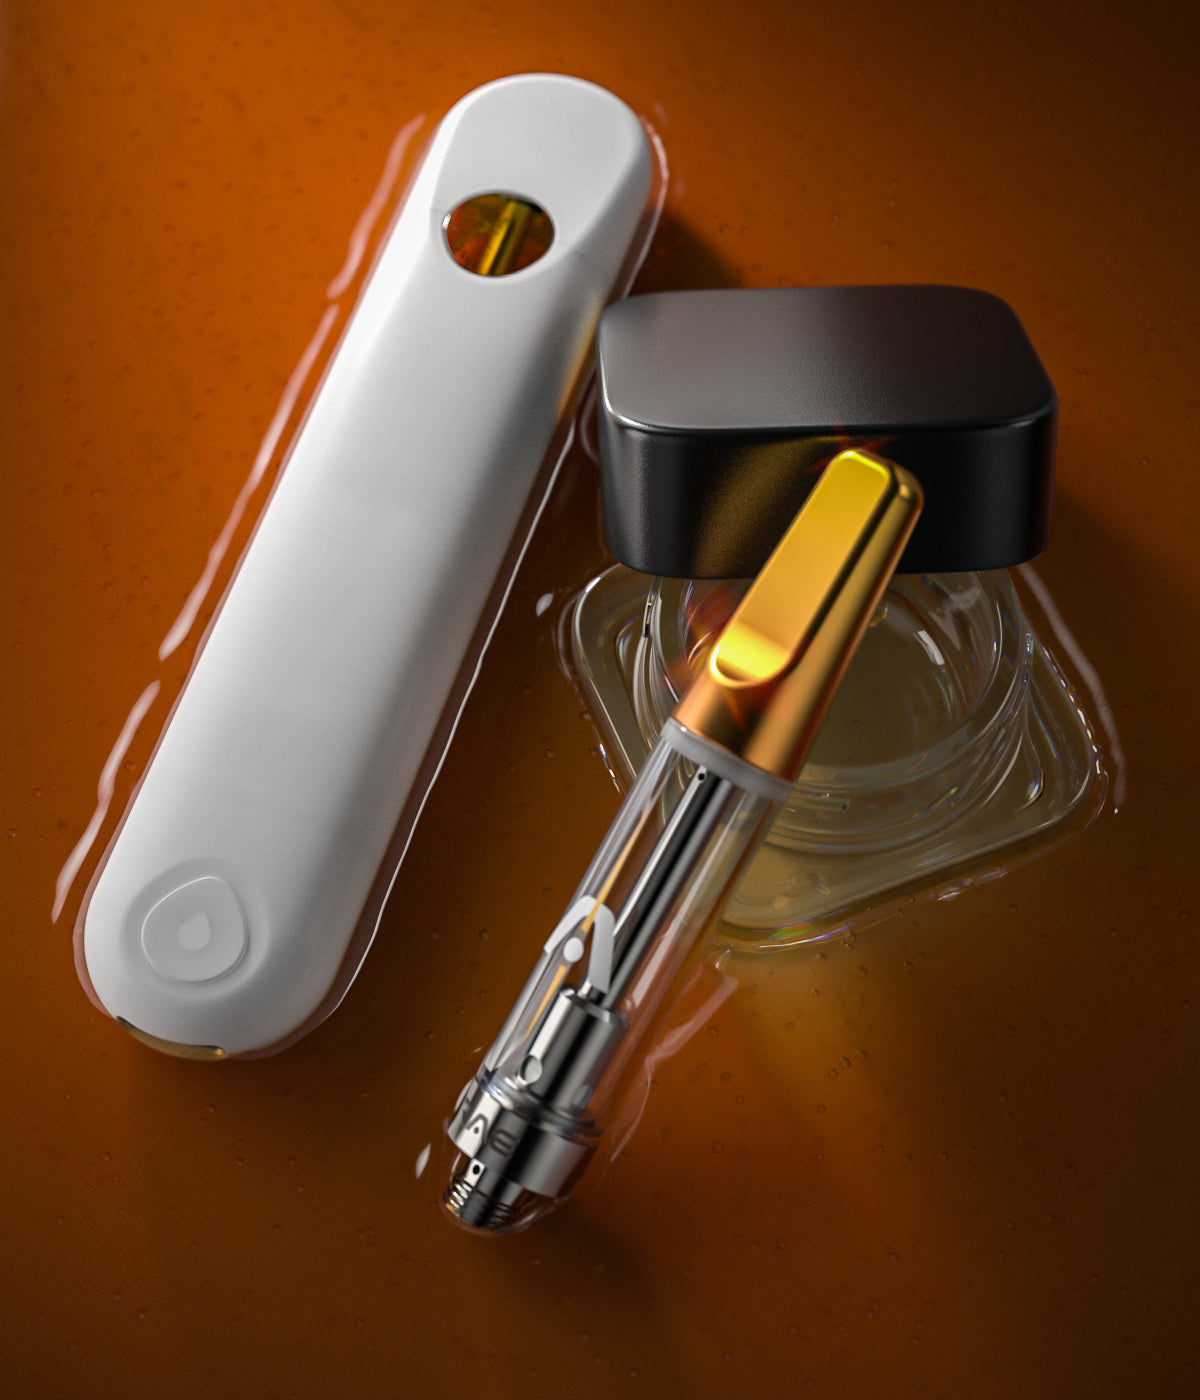
Understanding the differences between various consumption methods can help you choose the right approach. This comparison of dab pens and dab rigs highlights the pros and cons of each option.
Whether you're making a homemade dab rig or learning to use a professional setup, the key is practice and patience. Start with small dabs, focus on proper temperature control, and always prioritize safety. With time, you'll develop the skills needed to enjoy concentrates efficiently and effectively.



Leave a comment
All comments are moderated before being published.
This site is protected by hCaptcha and the hCaptcha Privacy Policy and Terms of Service apply.