


Table of Contents
- Understanding Cannabis Transplanting: Timing and Preparation
- Signs Your Cannabis Plants Are Ready for Transplant
- Materials Needed for Successful Transplanting
- Step-by-Step Guide to Transplanting Cannabis
- Post-Transplant Care for Cannabis Plants
- Troubleshooting Common Transplanting Issues
- Advanced Transplanting Techniques for Experienced Growers
How to Successfully Transplant Cannabis Seedlings and Plants
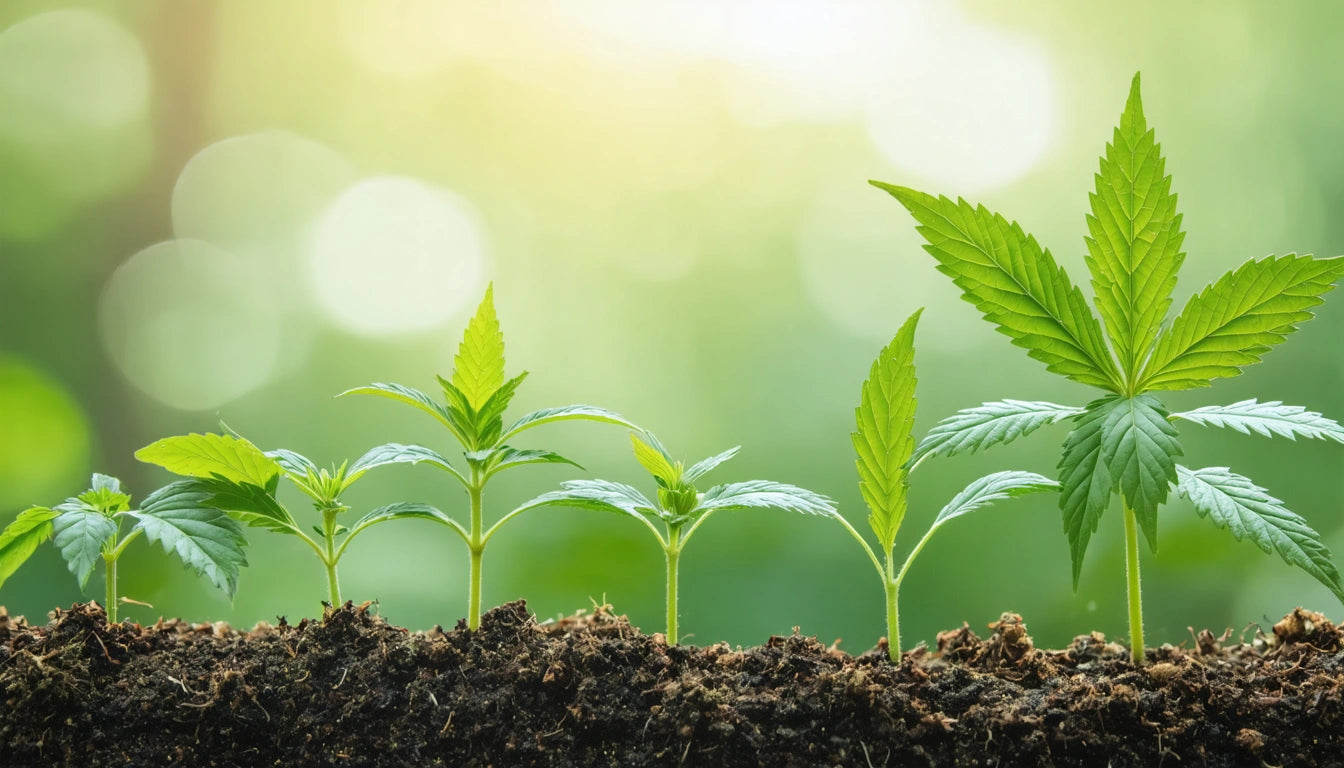
Transplanting is a critical phase in cannabis cultivation that can significantly impact plant health and yield. Whether you're moving delicate seedlings to their first real home or transferring established plants to larger containers, proper technique is essential. This guide covers everything you need to know about how to transplant cannabis seedlings and mature plants with minimal stress and maximum success.
Understanding Cannabis Transplanting: Timing and Preparation
Successful transplanting begins with understanding why and when to transplant. Cannabis plants need to be moved to larger containers as they grow to prevent becoming root-bound, which restricts nutrient uptake and stunts growth. According to our comprehensive guide on optimal timing, transplanting should occur at specific developmental stages rather than on a fixed schedule.
The transplanting process gives plants access to fresh nutrients and more space for root development. However, the process can cause transplant shock if not done properly, so preparation is key to minimizing stress on your plants.
Signs Your Cannabis Plants Are Ready for Transplant
For Seedlings:
- Development of 2-3 sets of true leaves (beyond the cotyledons)
- Visible roots growing out of drainage holes
- Seedlings have outgrown their starter containers
- Growth rate has slowed despite proper care
For Vegetative Plants:
- Plant appears top-heavy for its container
- Roots circling at the bottom or sides of the container
- Soil dries out unusually quickly
- Reduced growth rate or yellowing lower leaves
As detailed in our seedling transplant guide, timing is crucial. Transplanting too early can damage delicate roots, while waiting too long can lead to root binding and nutrient deficiencies.
Materials Needed for Successful Transplanting
Gathering the right supplies before you begin makes the transplanting process smoother and less stressful for your plants:
- New containers (fabric pots, plastic pots, or high-quality mylar grow bags that provide excellent root aeration and moisture control)
- Quality potting soil or growing medium
- Perlite or vermiculite for drainage (optional)
- Garden trowel or scoop
- Clean scissors or pruning shears
- Watering can with room-temperature water
- Root stimulator or transplant solution (optional)
- Clean work area with good lighting
Step-by-Step Guide to Transplanting Cannabis
How to Transplant Weed Seedlings:
- Prepare the new container: Fill your new pot about 2/3 full with pre-moistened growing medium.
- Create a hole: Make a hole in the center slightly larger than your seedling's current container.
- Remove the seedling: Gently squeeze the sides of the starter container to loosen the soil, then carefully turn it upside down, supporting the seedling stem between your fingers.
- Place in new container: Position the seedling in the hole, ensuring it's at the same depth as before (avoid burying the stem deeper).
- Fill and firm: Add soil around the root ball, gently firming it with your fingers without compacting it too much.
- Water thoroughly: Water around the base of the plant until you see slight drainage.
How to Transplant Mature Cannabis Plants:
- Prepare larger container: Fill the new container about halfway with pre-moistened soil mix.
- Remove plant from current pot: Water the plant first, then gently tip the pot on its side and carefully slide out the root ball.
- Inspect and loosen roots: If roots are circling or densely packed, gently tease them apart with your fingers.
- Position in new container: Place the root ball in the center of the new pot, making sure the plant sits at the proper height.
- Add soil: Fill in around the root ball with fresh soil, leaving about an inch of space at the top for watering.
- Water and stabilize: Water thoroughly and stake if necessary for support.
For more detailed instructions on growing cannabis from the beginning stages, check out our comprehensive seed-to-harvest guide.
Post-Transplant Care for Cannabis Plants
The first few days after transplanting are critical for recovery. Here's how to care for your newly transplanted cannabis plants:
- Lighting: Reduce light intensity for 24-48 hours to minimize stress.
- Watering: Keep soil consistently moist but not waterlogged.
- Environment: Maintain stable temperature and humidity levels.
- Nutrients: Hold off on feeding for 3-5 days after transplanting.
- Monitoring: Watch closely for signs of stress or recovery.
As explained in our seedling care guide, proper post-transplant care is essential for helping plants bounce back quickly and continue healthy growth.
Troubleshooting Common Transplanting Issues
Transplant Shock Symptoms:
- Wilting or drooping leaves
- Yellowing foliage
- Slowed or stunted growth
- Leaf curling or crisping
Solutions:
- For wilting: Ensure proper watering and consider a humidity dome for seedlings.
- For yellowing: Check for proper pH and avoid fertilizing until recovery.
- For stunted growth: Be patient, provide optimal conditions, and consider a mild root stimulator.
Most transplant shock issues resolve within 1-2 weeks with proper care. If problems persist, evaluate your growing environment for other potential issues like temperature extremes or pest problems.
Advanced Transplanting Techniques for Experienced Growers
Once you've mastered basic transplanting, consider these advanced techniques to further optimize your cannabis growing:
- Root pruning: Strategically trimming roots to encourage denser root development.
- Mycorrhizae inoculation: Adding beneficial fungi to transplant soil to enhance nutrient uptake.
- Humic acid supplements: Including humic acid in your transplant water to reduce shock.
- Training during transplant: Incorporating low-stress training techniques while repositioning plants.
These techniques can be particularly valuable for growers working with clones, as detailed in our cannabis cloning guide.
Mastering how to transplant weed plants is a fundamental skill that improves with practice. By following these guidelines and paying attention to your plants' specific needs, you'll develop a reliable process that minimizes stress and maximizes growth potential throughout your cannabis plants' life cycle.


Leave a comment
All comments are moderated before being published.
This site is protected by hCaptcha and the hCaptcha Privacy Policy and Terms of Service apply.