Table of Contents
A Comprehensive Guide to Growing and Harvesting Cannabis at Home
Growing cannabis at home can be a rewarding experience that provides a steady supply of high-quality flower tailored to your preferences. Whether you're a first-time grower or looking to refine your cultivation techniques, understanding the fundamentals of how to grow cannabis properly will help you achieve better results. This guide walks through the entire process from seed selection to harvest timing.
Getting Started with Cannabis Cultivation
Before planting your first seed, you need to make several important decisions that will impact your growing journey.
Selecting the Right Seeds or Clones
Quality genetics are the foundation of successful cannabis cultivation. When choosing seeds, consider:
- Strain type (indica, sativa, or hybrid)
- THC and CBD content
- Expected flowering time
- Resistance to pests and mold
- Size and yield potential
For beginners, autoflowering varieties can be more forgiving as they transition to flowering automatically regardless of light cycle changes. Our guide to growing cannabis seeds provides detailed information on germination techniques and early care.
Creating the Ideal Growing Environment
Cannabis plants thrive in specific conditions. Creating and maintaining the right environment is crucial for healthy growth.
Indoor vs. Outdoor Growing
Indoor growing offers greater control over environmental factors but requires more equipment and higher energy costs. Outdoor growing leverages natural sunlight and air but is subject to weather conditions and seasonal limitations.
For indoor setups, you'll need:
- Grow lights (LED, HPS, or fluorescent)
- Ventilation system
- Temperature and humidity controls
- Growing medium (soil, coco coir, or hydroponic)
- Nutrients specifically formulated for cannabis
When setting up your growing space, consider using specialized containers that promote healthy root development and proper drainage, which can significantly impact plant health throughout the growing cycle.
Nurturing Through the Vegetative Stage
During the vegetative stage, cannabis plants focus on developing strong stems, branches, and leaves. This phase typically lasts 3-16 weeks depending on your growing method and desired plant size.
Lighting and Feeding Schedule
Vegetative plants require:
- 18-24 hours of light daily
- Temperature between 70-85 °F (21-29 °C)
- Relative humidity of 40-70%
- Regular feeding with nitrogen-rich nutrients
- Consistent watering without overwatering
During this stage, training techniques like topping, LST (low-stress training), and SCROG (screen of green) can help maximize yield by creating more bud sites and better light penetration.
Managing the Flowering Stage
The flowering stage is when cannabis plants develop the resinous buds that contain cannabinoids and terpenes. This phase requires different care than the vegetative stage.
Triggering and Supporting Flower Development
For photoperiod plants, flowering is triggered by changing the light cycle to 12 hours on and 12 hours off. Autoflowering strains will begin flowering automatically based on age.
During flowering:
- Switch to phosphorus and potassium-rich nutrients
- Maintain slightly lower humidity (40-50%) to prevent mold
- Support heavy branches with stakes or trellises
- Monitor closely for hermaphroditism, especially under stress
The ultimate cannabis plant growing guide offers detailed information on managing the transition from vegetative to flowering stages.
When to Harvest Cannabis for Optimal Potency
Knowing when to harvest cannabis is perhaps the most critical decision affecting the final quality of your product. Harvest timing influences potency, flavor, and effects.
Visual Indicators of Readiness
The most reliable method for determining harvest readiness is examining the trichomes (resin glands) using a jeweler's loupe or digital microscope. Look for these signs:
- Clear trichomes: Not ready, low potency
- Cloudy/milky trichomes: Peak THC production, energetic effects
- Amber trichomes: More CBD, sedative effects
- 50/50 cloudy and amber: Balanced effects (most popular timing)
Secondary indicators include pistil coloration (hairs turning from white to orange/brown), leaf yellowing, and bud swelling. This detailed guide explores harvest timing indicators in depth.
Harvesting Techniques and Best Practices
Once you've determined it's time to harvest, proper technique ensures you preserve trichomes and maximize quality.
Tools and Preparation
Before harvesting, gather:
- Sharp, clean trimming scissors
- Gloves (to prevent trichome loss to hands)
- Drying rack or lines
- Clean, controlled environment for processing
Consider harvesting in the dark period or after several days of darkness to potentially increase resin production. Work in a cool room to prevent terpene degradation from heat.
Wet vs. Dry Trimming
Wet trimming (removing leaves immediately after harvest) allows for easier precision but faster drying. Dry trimming (trimming after initial drying) preserves more terpenes but is more labor-intensive. Both methods have merits depending on your climate and preferences.
Mastering the art of harvesting provides additional techniques for maximizing quality during this critical phase.
Post-Harvest Processing and Curing
After harvesting, proper drying and curing are essential for developing flavor and ensuring a smooth smoking experience.
Drying Process
Hang trimmed branches or place buds on drying racks in a dark room with:
- Temperature around 60-70 °F (15-21 °C)
- Humidity between 45-55%
- Gentle air circulation without direct fans
Drying typically takes 7-14 days. Buds are ready for curing when small stems snap rather than bend. Essential tips for drying cannabis can help you avoid common mistakes in this phase.
Curing for Quality
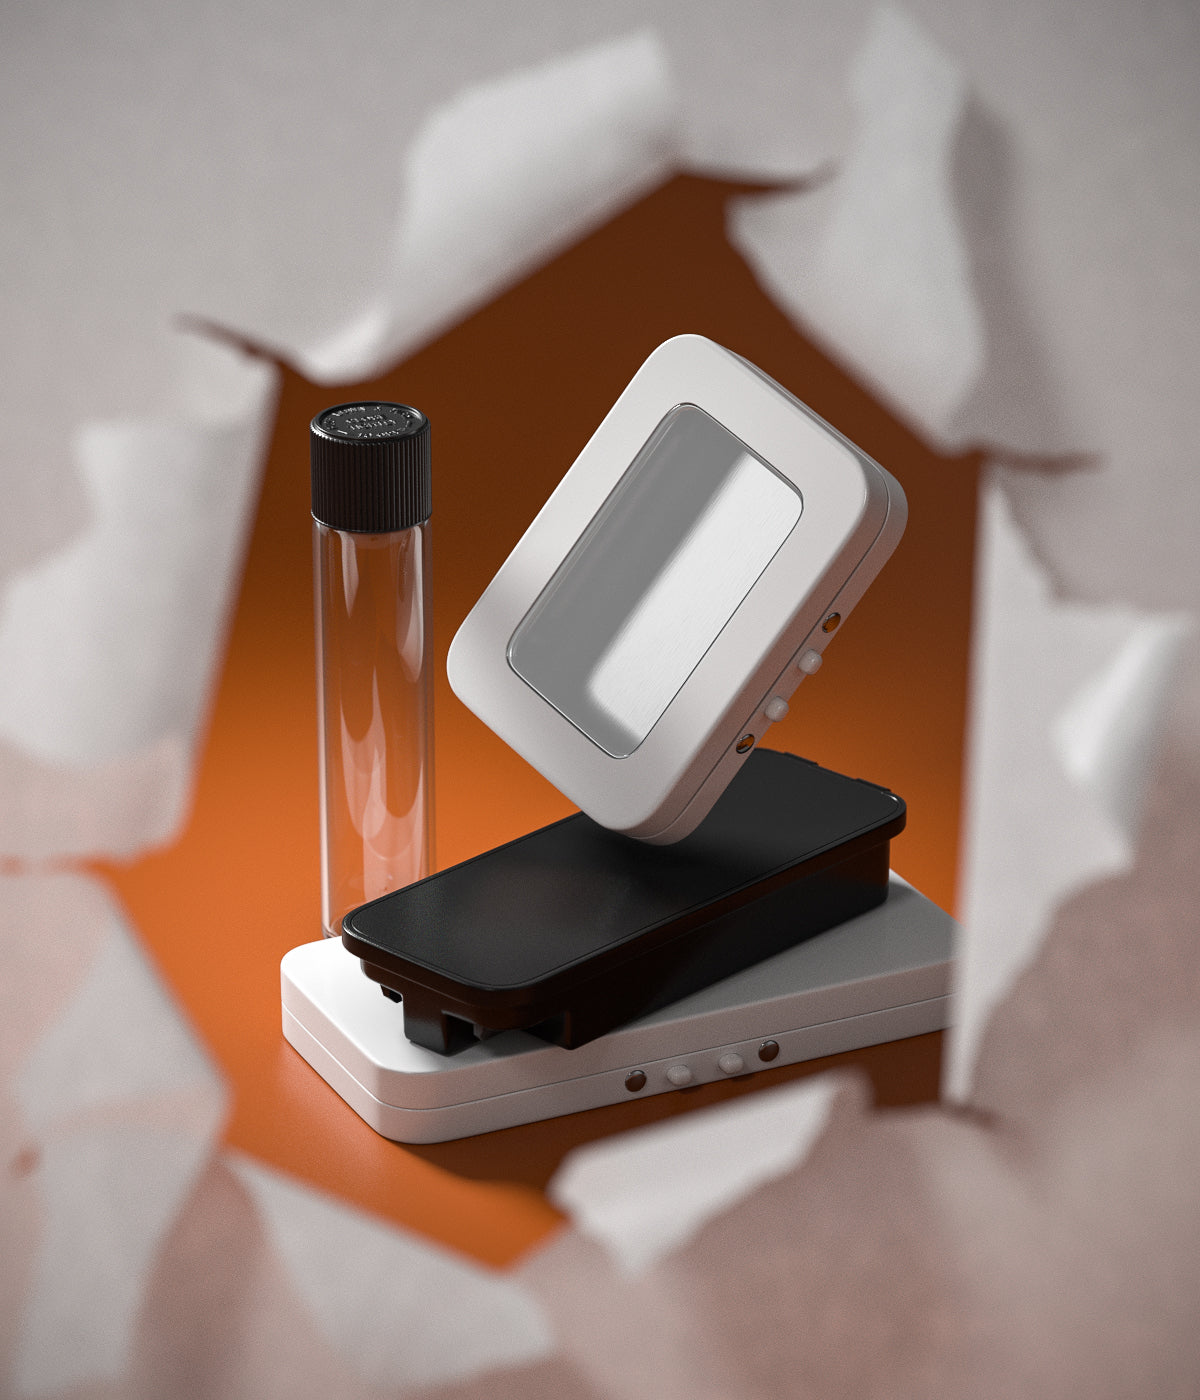
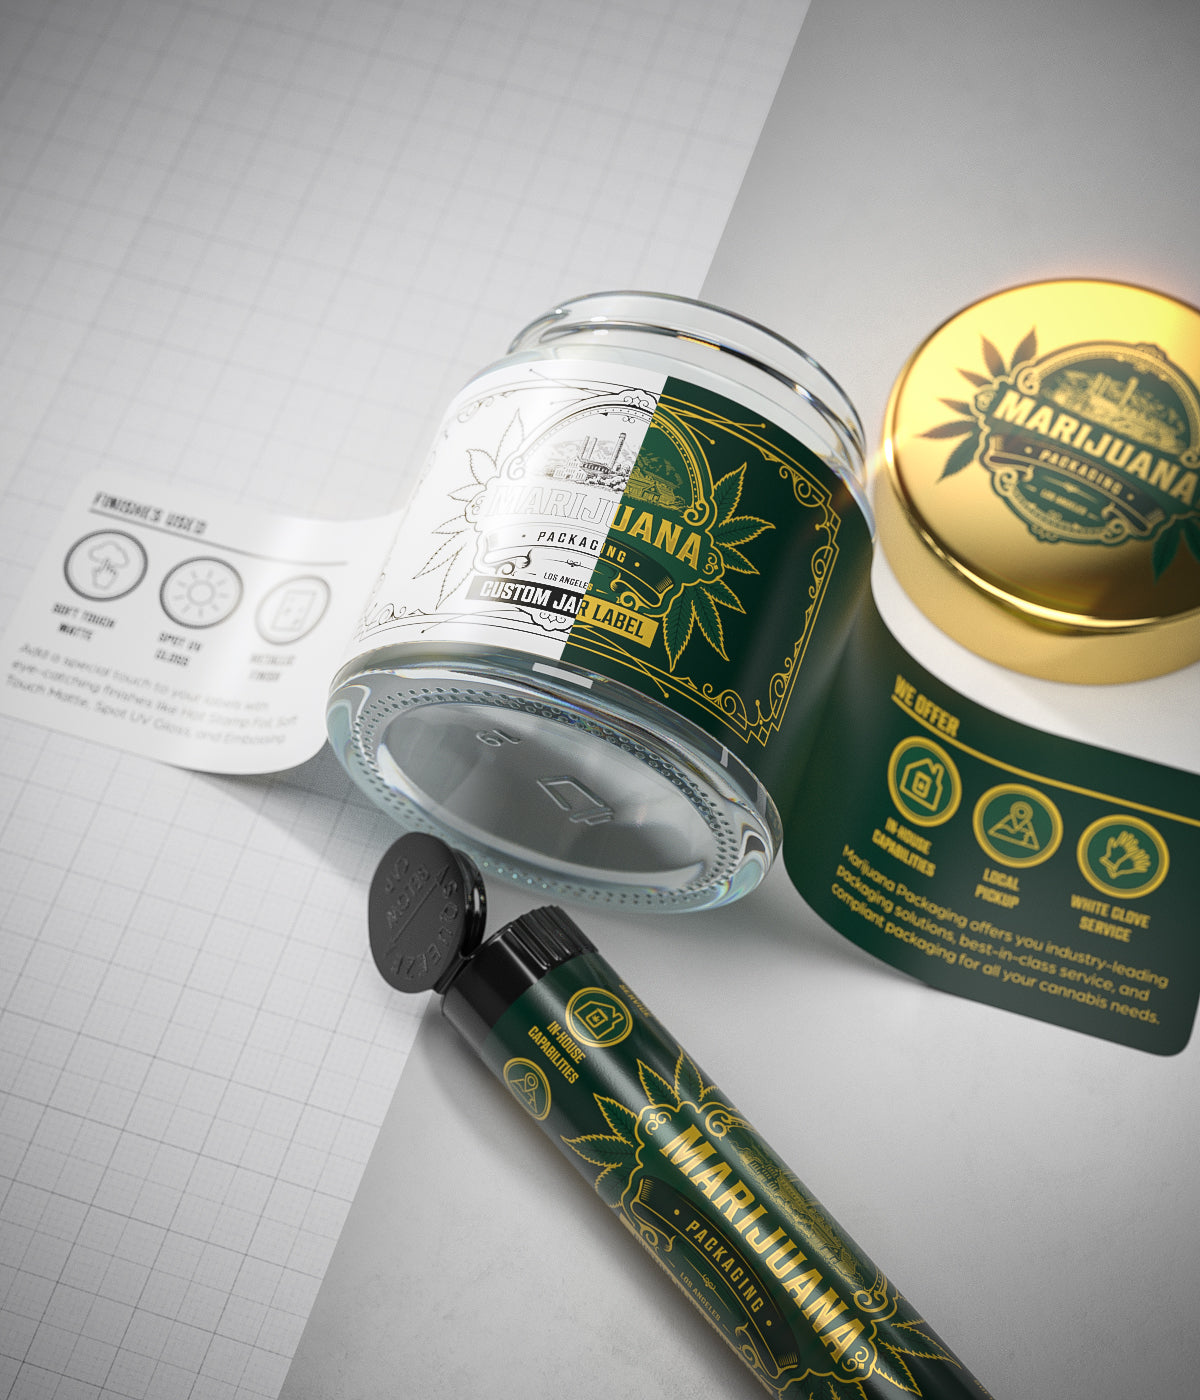
Curing involves storing dried buds in airtight containers (typically glass jars) and systematically releasing built-up gases:
- Fill jars 75% full with dried buds
- Store in a cool, dark place
- Open jars daily for the first week (


Leave a comment
All comments are moderated before being published.
This site is protected by hCaptcha and the hCaptcha Privacy Policy and Terms of Service apply.