


Table of Contents
- Understanding Autoflowering Cannabis: The Basics
- How to Grow Autoflower Indoors: Essential Requirements
- Can You Grow Autoflowers Outside? Outdoor Cultivation Guide
- How to Grow Autoflower in a Grow Tent: Optimizing Your Setup
- Selecting and Germinating Autoflower Seeds
- Nutrient Schedule and Feeding Techniques
- Harvesting and Curing for Maximum Potency
- Advanced Strategies for Experienced Autoflower Growers
A Comprehensive Guide to Growing Autoflowering Cannabis Indoors and Outdoors
Autoflowering cannabis has revolutionized home cultivation with its user-friendly growth cycle and compact size. Whether you're wondering how to grow autoflower indoors or if you can grow autoflowers outside, this guide covers everything from seed selection to harvest. Autoflowers transition to flowering based on age rather than light cycles, making them ideal for beginners and experienced growers alike.
Understanding Autoflowering Cannabis: The Basics
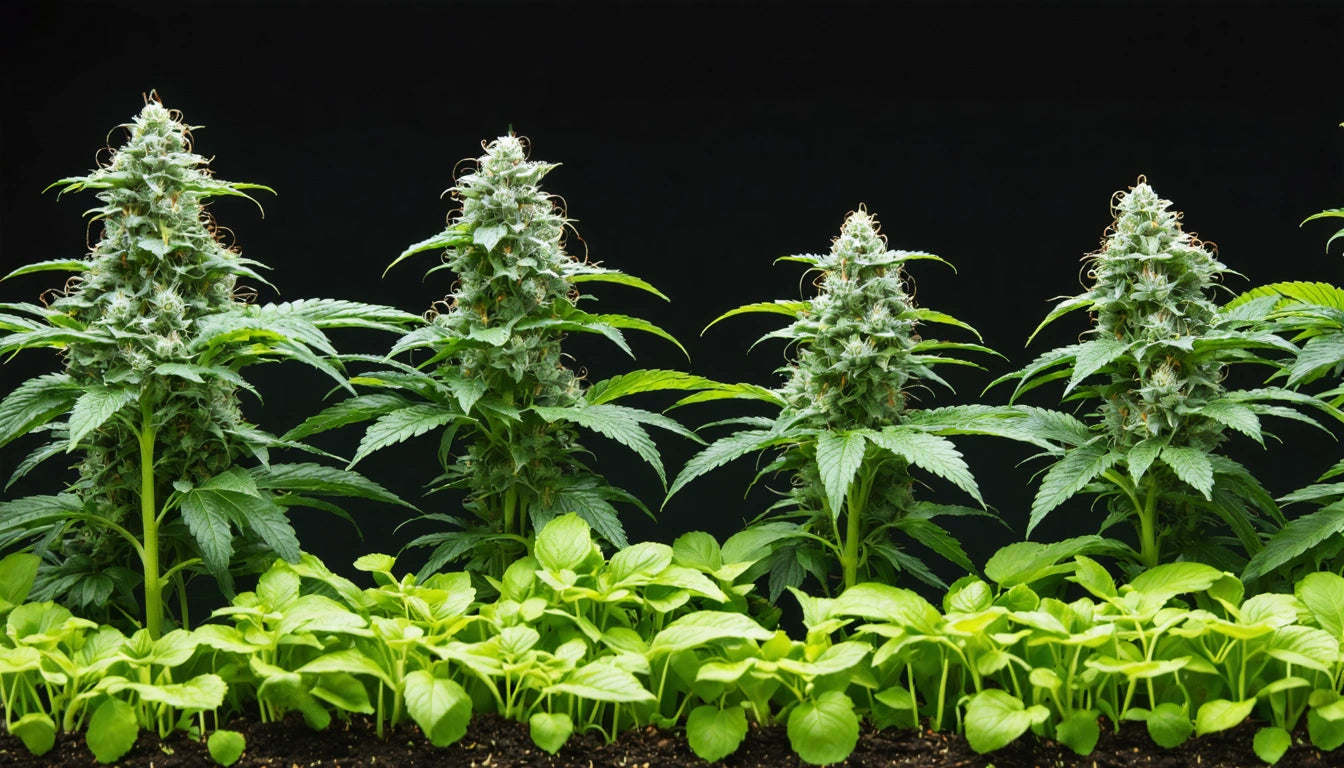
Autoflowering cannabis contains ruderalis genetics, which enables the plant to flower automatically regardless of light schedule. Unlike photoperiod strains that require specific light cycles to trigger flowering, autoflowers transition naturally after 2-4 weeks of vegetative growth. This unique characteristic makes them perfect for growers with limited space or those living in regions with shorter growing seasons.
According to this comprehensive timeline guide, most autoflowers complete their entire life cycle in just 8-10 weeks from seed to harvest, significantly faster than traditional photoperiod strains.
How to Grow Autoflower Indoors: Essential Requirements
Lighting Requirements
When learning how to grow autoflowering weed indoors, lighting is crucial. Most growers maintain a consistent 18/6 or 20/4 light schedule (hours on/off) throughout the entire growth cycle. LED grow lights are highly recommended for their energy efficiency and full spectrum coverage, though HPS and CMH systems also work well.
For optimal results, position lights 18-24 inches from the canopy and adjust as plants grow. Unlike photoperiod strains, autoflowers don't require a reduction in light hours to trigger flowering, simplifying the growing process considerably.
Climate Control
Maintain temperatures between 70-80 °F (21-27 °C) during light periods and slightly cooler during dark periods. Humidity should be kept at 60-70% during the seedling stage, gradually decreasing to 40-50% during flowering. Proper air circulation prevents mold and strengthens stems, so consider adding oscillating fans to your setup.
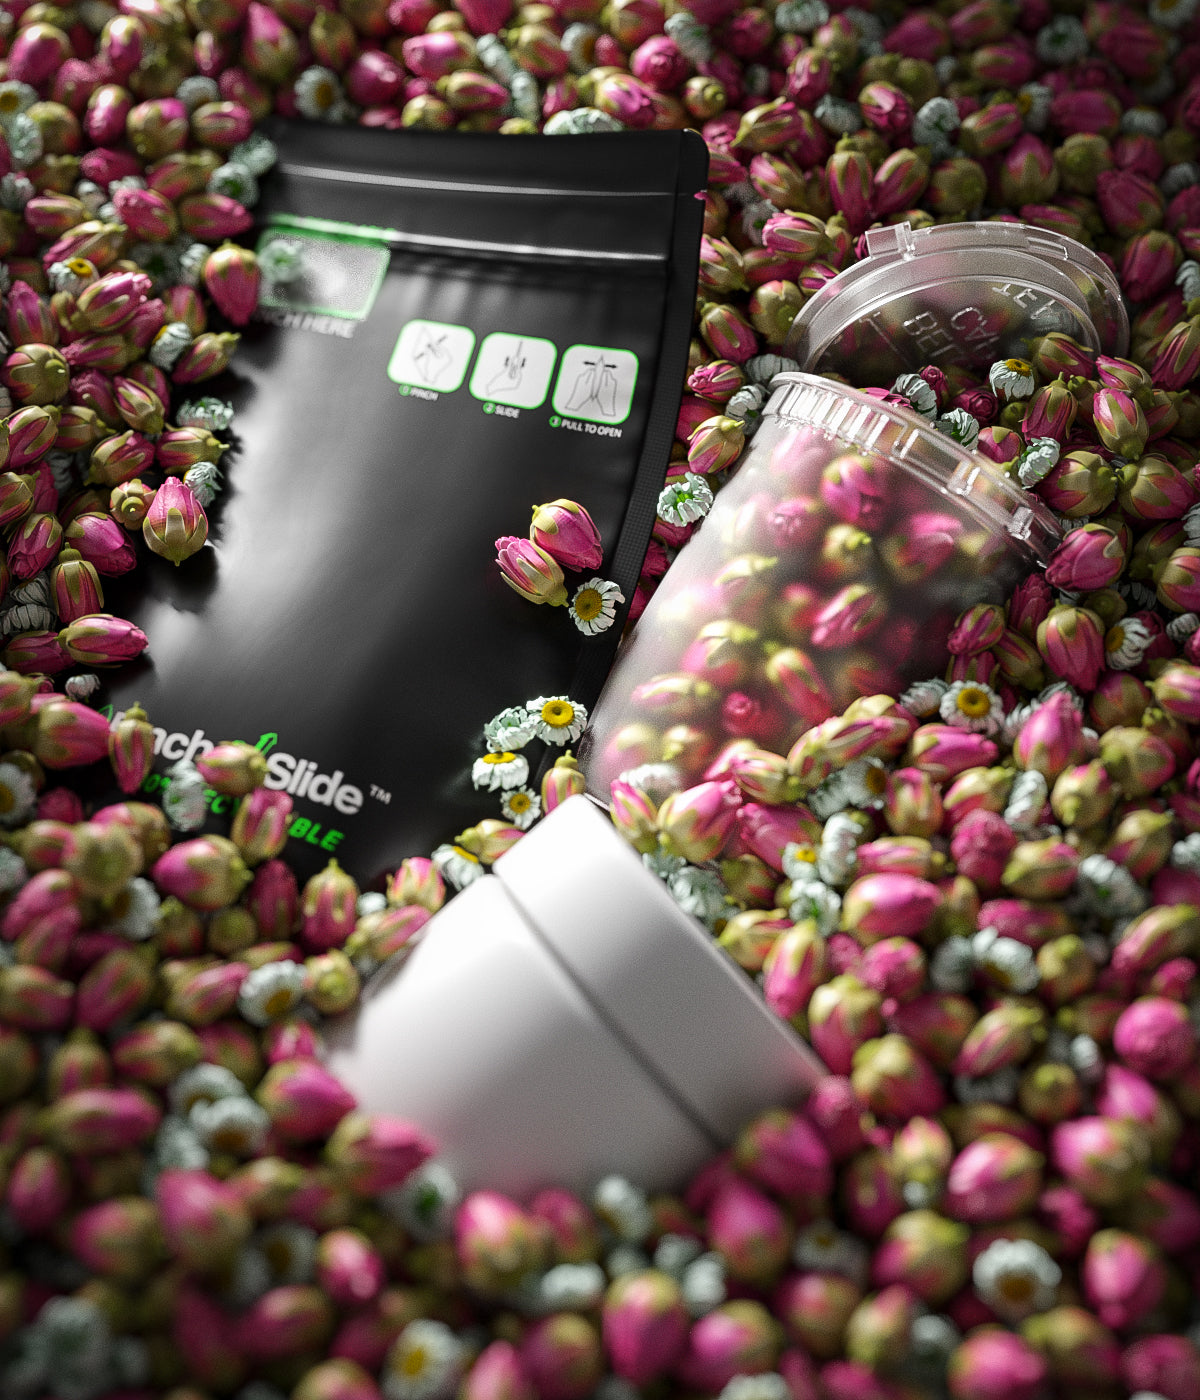
Proper storage of harvested autoflowers is essential for preserving potency. Many growers use specialized airtight jar caps and lids that maintain freshness while providing child-resistant safety features.
Can You Grow Autoflowers Outside? Outdoor Cultivation Guide
Yes, you can grow autoflower seeds outside with excellent results. Autoflowers thrive outdoors due to their ruderalis heritage, which makes them naturally resistant to temperature fluctuations and pests. The ideal time to plant autoflowers outdoors is after the last frost when temperatures consistently stay above 50 °F (10 °C).
For outdoor growing:
- Choose a location with 6+ hours of direct sunlight
- Use 5-15 gallon fabric pots for better root development
- Consider companion planting with basil or marigolds to deter pests
- Install a simple irrigation system for consistent watering
Outdoor autoflowers typically yield more than their indoor counterparts when given optimal conditions, as detailed in this outdoor growing guide.
How to Grow Autoflower in a Grow Tent: Optimizing Your Setup
A grow tent provides an ideal controlled environment for autoflowers. When setting up your tent:
Tent Size and Configuration
For 2-4 plants, a 2'x4' or 3'x3' tent works well. Ensure your tent has multiple ports for ventilation and cable management. Line the interior with reflective material to maximize light efficiency.
Ventilation System
Install an exhaust fan with a carbon filter to control odors and maintain proper air exchange. The fan should be powerful enough to replace the air in your tent every 1-3 minutes. An intake fan or passive intake ports help bring fresh air into the growing space.
Learning how to grow auto flower inside a tent is similar to growing any cannabis indoors, but with the advantage of not needing to adjust light cycles.
Selecting and Germinating Autoflower Seeds
Choosing quality genetics is the foundation of successful cultivation. When selecting how to grow autoflower seeds indoors or outdoors, consider:
- Reputable seed banks with positive reviews
- Strains bred specifically for your growing environment
- Desired effects, flavor profiles, and CBD:THC ratios
- Expected height and space requirements
For germination, the paper towel method works exceptionally well for autoflowers:
- Place seeds between damp paper towels on a plate
- Cover with another plate to create a dark, humid environment
- Maintain temperature around 70-80 °F (21-27 °C)
- Check daily until taproots emerge (typically 1-5 days)
- Transfer carefully to growing medium with the taproot facing down
For detailed germination techniques, this germination guide provides step-by-step instructions.
Nutrient Schedule and Feeding Techniques
Autoflowers require gentler feeding than photoperiod plants. Start with these guidelines:
Weeks 1-2 (Seedling)
Use only pH-balanced water (6.0-6.5 for soil). The seed contains enough nutrients for initial growth.
Weeks 3-5 (Vegetative)
Begin with 1/4 to 1/2 strength vegetative nutrients, gradually increasing to full strength by week 5. Focus on nitrogen-rich formulations.
Weeks 6-10 (Flowering)
Transition to bloom nutrients with higher phosphorus and potassium. Maintain 1/2 to 3/4 strength of recommended doses to prevent nutrient burn.
Always practice the "less is more" approach with autoflowers. They're particularly sensitive to overfeeding, which can stunt growth during their short lifecycle.
Harvesting and Curing for Maximum Potency
Knowing when to harvest is critical for potency and effect. Monitor trichomes using a jeweler's loupe or digital microscope:
- Clear trichomes: Too early, lower potency
- Milky/cloudy trichomes: Peak THC, energetic effects
- Amber trichomes: More CBD, sedative effects
- 50/50 milky and amber: Balanced effects (most popular)
After harvesting, proper curing is essential:
- Trim excess leaves and hang branches upside down in a dark room (60-65 °F, 55-60% humidity) for 7-10 days
- When stems snap rather than bend, transfer buds to glass jars
- "Burp" jars daily for the first two weeks by opening them for 5-10 minutes
- Reduce to weekly burping for the next 2-4 weeks
- Store in a cool, dark place for long-term preservation
Advanced Strategies for Experienced Autoflower Growers
Once you've mastered how to grow auto flower strains indoors or outdoors, consider these advanced techniques:
Training Methods
While autoflowers have limited time for recovery, gentle low-stress training (LST) can increase yields. Begin early (day 15-18) and use soft plant ties to carefully bend stems horizontally, opening up lower bud sites to light.
Sea of Green (SOG)
This method involves growing many small autoflowers close together rather than fewer larger plants. It maximizes space efficiency and works particularly well with autoflowers due to their naturally compact size.
For both indoor and outdoor cultivation, these advanced autoflower techniques can significantly improve your results through each growth stage.
Whether you're growing indoors under controlled conditions or taking advantage of autoflowers' hardiness outdoors, these versatile plants offer a rewarding cultivation experience with relatively minimal effort compared to traditional cannabis varieties.

Leave a comment
All comments are moderated before being published.
This site is protected by hCaptcha and the hCaptcha Privacy Policy and Terms of Service apply.