Table of Contents
- Understanding Skunk Strains: Genetics and Characteristics
- Setting Up Your Indoor Grow Space for Skunk Plants
- Germination and Seedling Stage: Starting Your Skunk Plants
- Vegetative and Flowering Phases: Nurturing Skunk Growth
- Harvesting and Curing Your Skunk Plants
- Troubleshooting Common Issues When Growing Skunk
- Storage and Preservation Methods for Maximum Potency
Comprehensive Guide to Growing Skunk Plants Indoors
Growing skunk plants indoors offers cultivators precise control over environmental conditions, resulting in consistent, high-quality yields. Skunk strains, known for their distinctive aroma and resilient growing characteristics, have become favorites among both novice and experienced growers. This guide provides detailed instructions on how to grow skunk plants indoors, from selecting genetics to harvesting and curing your final product.
Understanding Skunk Strains: Genetics and Characteristics
Skunk varieties represent some of the most stable and reliable cannabis genetics available. Originally developed in the 1970s by crossing Afghan, Acapulco Gold, and Colombian Gold varieties, Skunk strains are characterized by their pungent aroma, robust growth patterns, and relatively short flowering periods. Before starting your growing journey, understanding these genetic traits will help you make informed decisions throughout the cultivation process.
Popular Skunk Varieties for Indoor Growing
- Skunk #1: The original classic, known for stability and reliability
- Super Skunk: Higher yields with more intense effects
- Cheese: A UK-developed skunk variant with a unique aroma profile
- Critical Skunk: Fast-flowering with impressive yield potential
When considering where to buy skunk seeds, reputable seed banks offer various skunk varieties with detailed growing information. Select genetics that match your experience level and growing space limitations.
Setting Up Your Indoor Grow Space for Skunk Plants
The best way to grow skunk indoors starts with creating an optimal environment. Skunk plants thrive in controlled settings with proper lighting, ventilation, and temperature management. Indoor growing techniques allow for year-round cultivation regardless of external climate conditions.
Essential Equipment for Indoor Skunk Cultivation
- Grow tent or dedicated space (2×2 ft minimum for 1-2 plants)
- LED or HPS lighting (400-600W recommended for optimal growth)
- Ventilation system with carbon filter for odor control
- Temperature and humidity monitors
- Growing medium (soil, coco coir, or hydroponic system)
- Nutrients formulated for cannabis
Temperature should be maintained between 70-85 °F (21-29 °C) during light periods and slightly cooler during dark periods. Humidity requirements vary by growth stage, starting at 65-70% for seedlings and reducing to 40-50% during flowering.
Germination and Seedling Stage: Starting Your Skunk Plants
Learning how to grow skunk plants begins with proper germination techniques. Skunk seeds typically have high germination rates when provided with appropriate conditions.
Germination Methods
- Paper towel method: Place seeds between damp paper towels until taproot appears
- Direct planting: Place seeds directly in a small container with seedling mix
- Starter cubes: Use specialized starter plugs designed for cannabis seeds
Once germinated, transfer seedlings to small containers with well-draining soil. During this stage, provide 18-24 hours of light using lower-intensity settings. Maintain high humidity (65-70%) and gentle airflow to strengthen developing stems. Proper home cultivation techniques during this early stage establish the foundation for healthy plants.
Vegetative and Flowering Phases: Nurturing Skunk Growth
The vegetative stage is where your skunk plants build structure and size. Maintain a light schedule of 18 hours on and 6 hours off, with temperatures between 70-85 °F (21-29 °C) and humidity around 50-70%.
Vegetative Stage Care
- Transplant to larger containers (3-5 gallon recommended)
- Implement training techniques like topping or LST for better light exposure
- Begin regular feeding schedule with nitrogen-rich nutrients
- Monitor for signs of deficiencies or pests
After 4-6 weeks of vegetative growth, transition to the flowering phase by changing the light schedule to 12 hours on and 12 hours off. This photoperiod shift triggers your skunk plants to develop flowers. During flowering, adjust your nutrient regimen to formulations higher in phosphorus and potassium while reducing nitrogen.
Skunk strains typically flower for 7-9 weeks, making them relatively quick producers compared to some other varieties. Growing from seed to harvest indoors gives you complete control over the entire lifecycle.
Harvesting and Curing Your Skunk Plants
Knowing when to harvest your skunk plants is crucial for achieving desired potency and effects. Monitor trichome development using a jeweler's loupe or digital microscope. Harvest when trichomes are mostly cloudy with some amber for a balanced effect, or wait for more amber trichomes if seeking more sedative properties.
Harvesting Process
- Cut plants at the base or remove branches individually
- Trim away large fan leaves (wet trimming) or leave them for dry trimming later
- Hang branches upside down in a dark room at 60-70 °F with 50% humidity
- Allow 7-14 days for proper drying
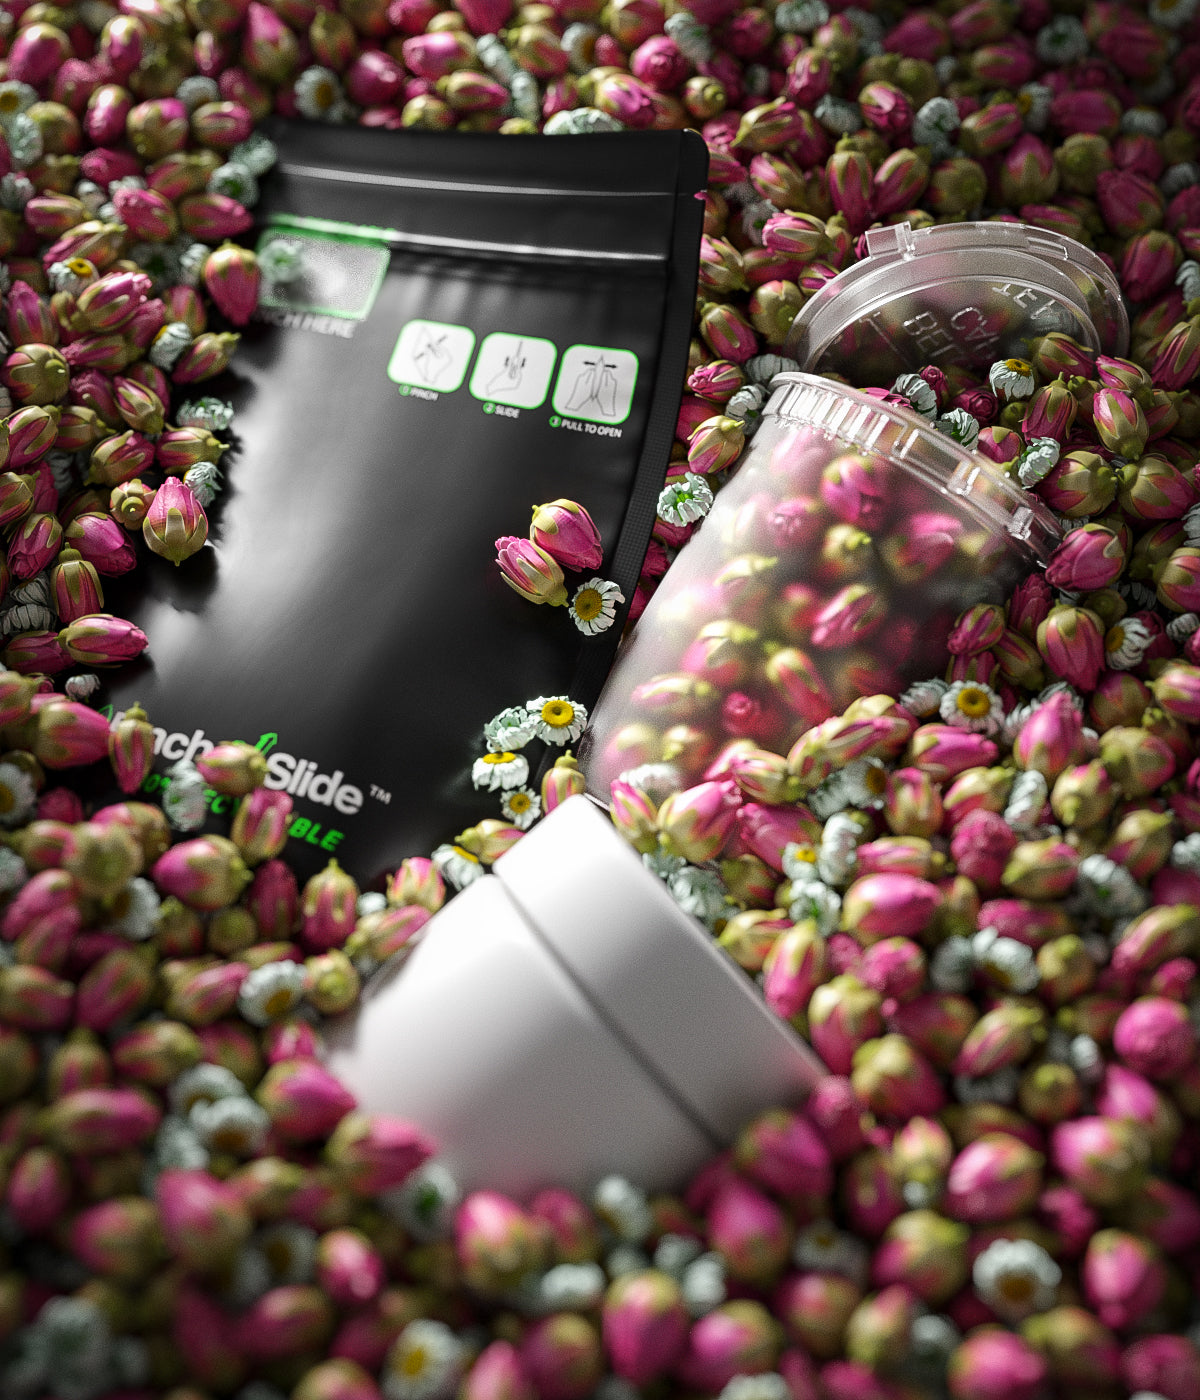
After drying, proper curing is essential for bringing out the characteristic skunk aroma and improving smoothness. Place trimmed buds in airtight glass containers, using quality jar lids that maintain an airtight seal to preserve freshness and potency during the curing process. Open jars daily for the first two weeks to release moisture and prevent mold formation.
Troubleshooting Common Issues When Growing Skunk
Even when following the best way to grow skunk, challenges may arise. Skunk strains are generally robust, but still susceptible to common cannabis growing issues.
Common Problems and Solutions
- Nutrient deficiencies: Yellowing leaves often indicate nitrogen deficiency, while purple stems may signal phosphorus issues
- Pest infestations: Spider mites, aphids, and fungus gnats can be controlled with neem oil or beneficial insects
- Mold and mildew: Improve air circulation and reduce humidity to prevent powdery mildew and bud rot
- Light burn: Maintain proper distance between plants and lights based on your specific lighting system
Beginner-friendly growing techniques can help minimize these issues, particularly if you're new to cultivating skunk varieties.
Storage and Preservation Methods for Maximum Potency
After investing time and resources into growing your skunk plants, proper storage ensures you maintain their potency and flavor profile. Properly cured skunk buds can maintain quality for 6-12 months when stored correctly.
Store your cured skunk flowers in airtight glass containers away from light, heat, and humidity fluctuations. Some growers use humidity control packs to maintain optimal moisture levels around 62%. For long-term preservation, vacuum-sealed containers stored in a cool, dark place provide the best results.
Growing skunk plants indoors rewards cultivators with aromatic, potent flowers when proper techniques are applied. By following this comprehensive guide, you'll be well-equipped to navigate the entire growing process from seed selection to final storage. The distinctive characteristics of skunk varieties make them an excellent choice for indoor cultivation, offering relatively forgiving growing parameters with impressive results.




Leave a comment
All comments are moderated before being published.
This site is protected by hCaptcha and the hCaptcha Privacy Policy and Terms of Service apply.