

Table of Contents
Effective Techniques for Curing Cannabis in Jars
Proper curing is essential for developing cannabis with optimal flavor, potency, and smoothness. Learning how to cure weed in jars is a fundamental skill for both home growers and commercial cultivators. This guide covers everything from selecting the right containers to maintaining ideal conditions throughout the curing process.
Why Proper Curing in Jars Matters
Curing cannabis isn't just about drying; it's a critical post-harvest process that enhances the final product. During curing, chlorophyll and other unwanted compounds break down, improving flavor and reducing harshness. Properly cured cannabis also maintains its cannabinoid profile better, ensuring the potency and effects remain stable.
According to our comprehensive curing guide, cannabis that's been properly cured in jars can maintain its quality for up to two years when stored correctly.
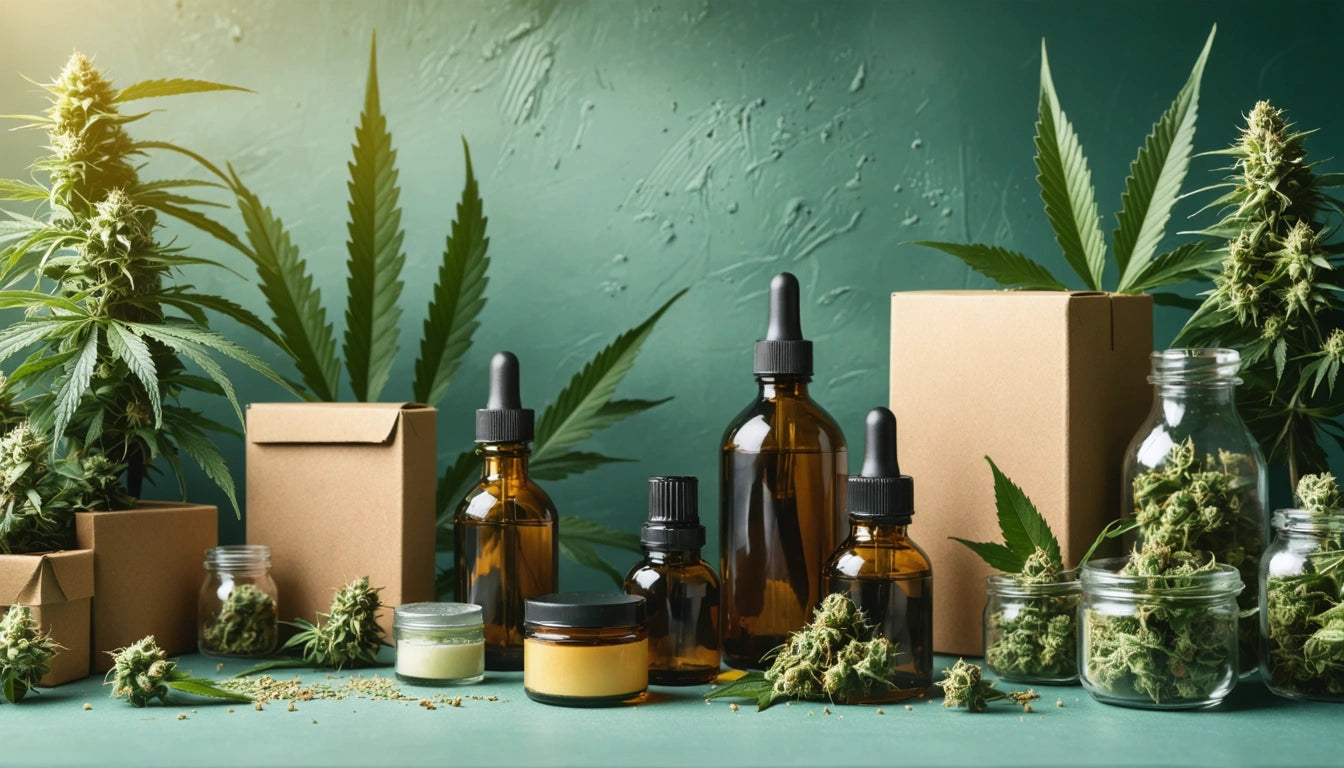
Essential Equipment for Jar Curing
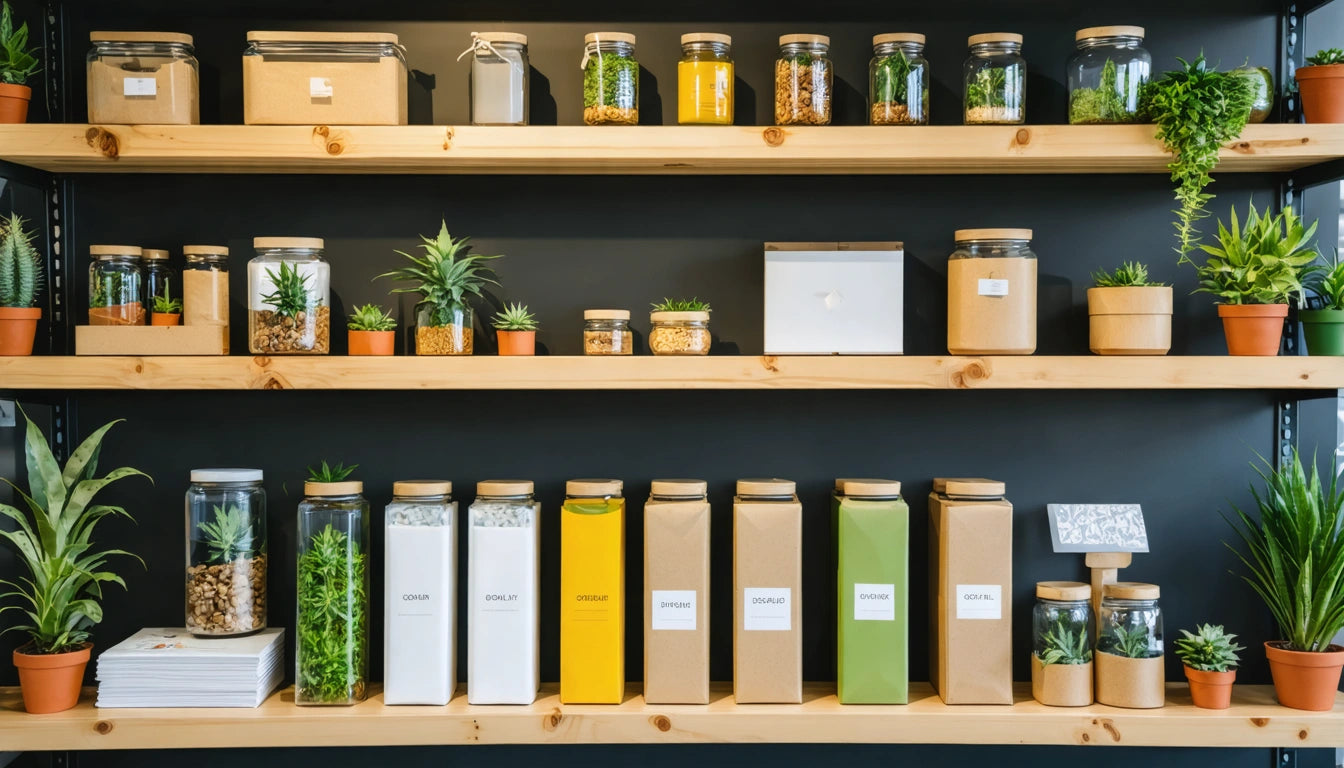
Choosing the Right Jars
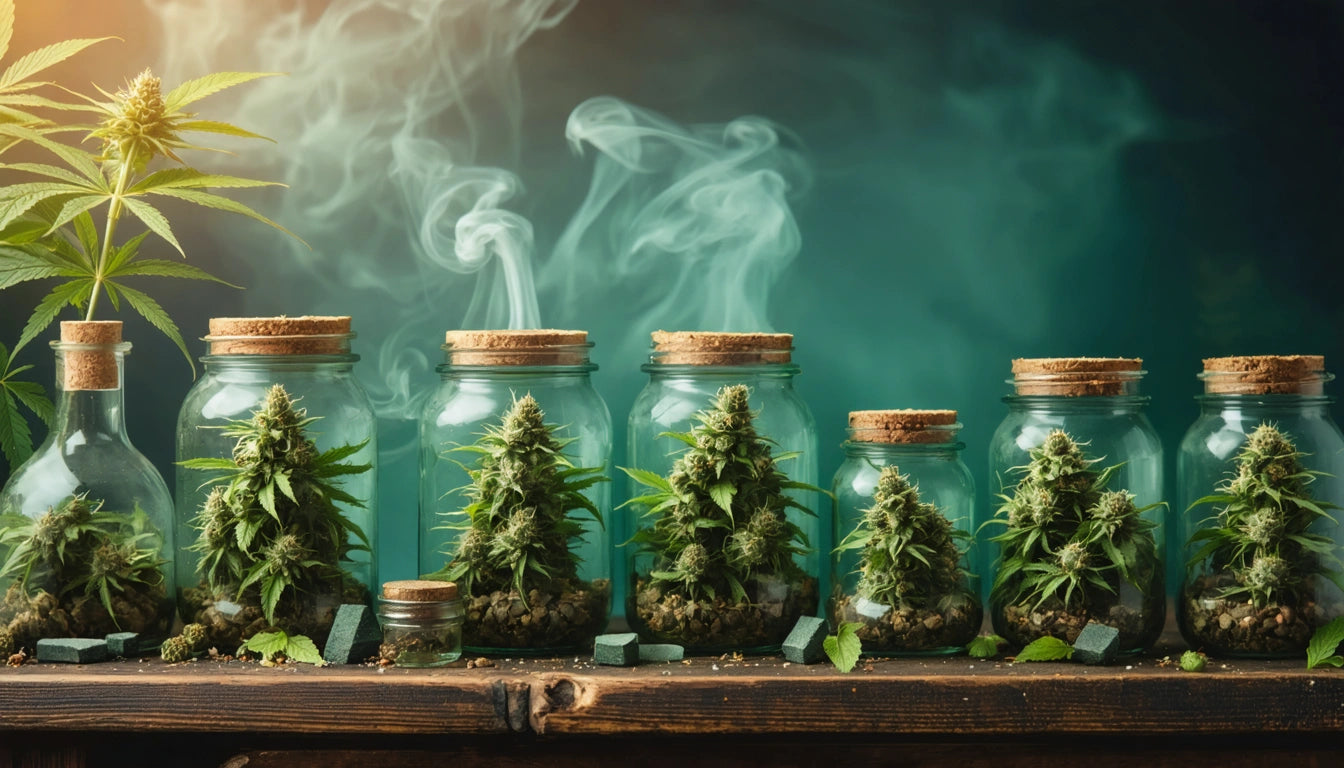
Mason jars are the gold standard for curing cannabis. Their airtight seal and glass construction create an ideal environment for the slow curing process. Wide-mouth varieties make it easier to add and remove buds without damaging trichomes.
Humidity Control Tools
Maintaining proper humidity levels is crucial when learning how to cure buds in a mason jar. Humidity control packets (like Boveda or Integra Boost) help maintain the ideal 58-62% relative humidity range.
Additional Equipment
- Hygrometers to monitor humidity levels
- UV-resistant jars for light protection
- Labels for tracking strains and dates
- Clean scissors for trimming
- For commercial operations, automated filling equipment can streamline the process when handling larger quantities
Step-by-Step Guide to Curing Cannabis in Jars
Learning how to cure marijuana in jars requires attention to detail and patience. Follow these steps for optimal results:
1. Proper Drying Before Jarring
Before you can cure weed in a jar, it must be properly dried. Stems should snap rather than bend, indicating moisture content is around 15%. This typically takes 7-10 days in a controlled environment.
2. Preparing Your Jars
Clean and completely dry your mason jars before use. Any moisture or contaminants can lead to mold. For detailed preparation techniques, check out our mason jar curing guide.
3. Filling Jars Properly
Fill jars to about 75% capacity, allowing room for air circulation. Don't pack buds too tightly, as this can create moisture pockets.
4. Initial Monitoring Period
During the first week, open jars daily for 5-10 minutes (known as "burping"). This releases excess moisture and allows fresh air exchange.
Humidity Control During the Curing Process
Understanding how to monitor and adjust humidity is essential when learning how do you cure weed in a jar. The ideal range is 58-62% relative humidity.
Reading Hygrometer Results
Place a small hygrometer inside your jar to monitor humidity levels. Readings above 65% indicate too much moisture, requiring more frequent burping. Readings below 55% suggest buds may be too dry.
Correcting Humidity Issues
- Too humid: Increase burping frequency or remove buds temporarily
- Too dry: Add a humidity pack or fresh fan leaf temporarily
For a deeper understanding of humidity control, refer to our comprehensive guide on curing methods.
Common Mistakes to Avoid When Curing Buds
When learning how to cure buds in a mason jar, avoid these common pitfalls:
Rushing the Process
Patience is key. Attempting to speed up curing through higher temperatures or less burping can ruin your harvest.
Inconsistent Monitoring
Neglecting to check jars regularly, especially in the first two weeks, can lead to mold development or over-drying.
Improper Storage Conditions
Storing jars in areas with temperature fluctuations or direct light exposure can degrade cannabinoids and terpenes.
Optimal Timeline for Curing Cannabis
Understanding how long to cure buds in jar is essential for planning and achieving desired results.
Minimum Curing Period
While cannabis can be consumed after 2-4 weeks of curing, most connoisseurs agree that a minimum of 4 weeks produces noticeably better results.
Extended Curing Benefits
For premium quality, many cultivators cure for 8 weeks or longer. According to our research on optimal curing times, extended curing periods of 3-6 months can significantly enhance flavor profiles for certain strains.
Curing Timeline Breakdown
- Weeks 1-2: Daily burping required
- Weeks 3-4: Burping every 2-3 days
- Weeks 5-8: Burping once weekly
- Beyond 8 weeks: Burping every 2-3 weeks for long-term storage
Advanced Techniques for Professional-Quality Results
Once you've mastered how to cure cannabis in jars using standard methods, consider these advanced techniques:
Two-Stage Curing
Some cultivators use a two-stage approach, starting with larger containers for the first 2 weeks, then transferring to smaller jars for long-term curing. This method provides more consistent results across larger harvests.
Temperature Manipulation
Slight temperature adjustments during different curing phases can enhance terpene preservation. Generally, cooler temperatures (60-70 °F) are ideal for long-term curing.
Strain-Specific Approaches
Different cannabis varieties may benefit from customized curing protocols. Indica-dominant strains often benefit from slightly longer curing periods, while some sativas may reach optimal quality with shorter cures.
For commercial operations, our commercial curing techniques guide offers scaled solutions that maintain quality across larger batches.
Mastering how to cure weed in jars takes practice, but the results are worth the effort. With proper technique, your cannabis will develop complex flavors, enhanced potency, and a smooth smoking experience that simply can't be achieved without proper curing.
Leave a comment
All comments are moderated before being published.
This site is protected by hCaptcha and the hCaptcha Privacy Policy and Terms of Service apply.