


Table of Contents
- Getting Started with Dagga Cultivation
- Ideal Growing Conditions for Dagga Plants
- Step-by-Step Guide to Planting Dagga
- Maintenance and Care Throughout the Growing Cycle
- Harvesting and Curing Your Dagga
- Making Dagga Oil: Methods and Applications
- Setting Up a Small-Scale Grow Operation
- Taking Your Dagga Cultivation to the Next Level
Guide to Growing and Using Dagga at Home
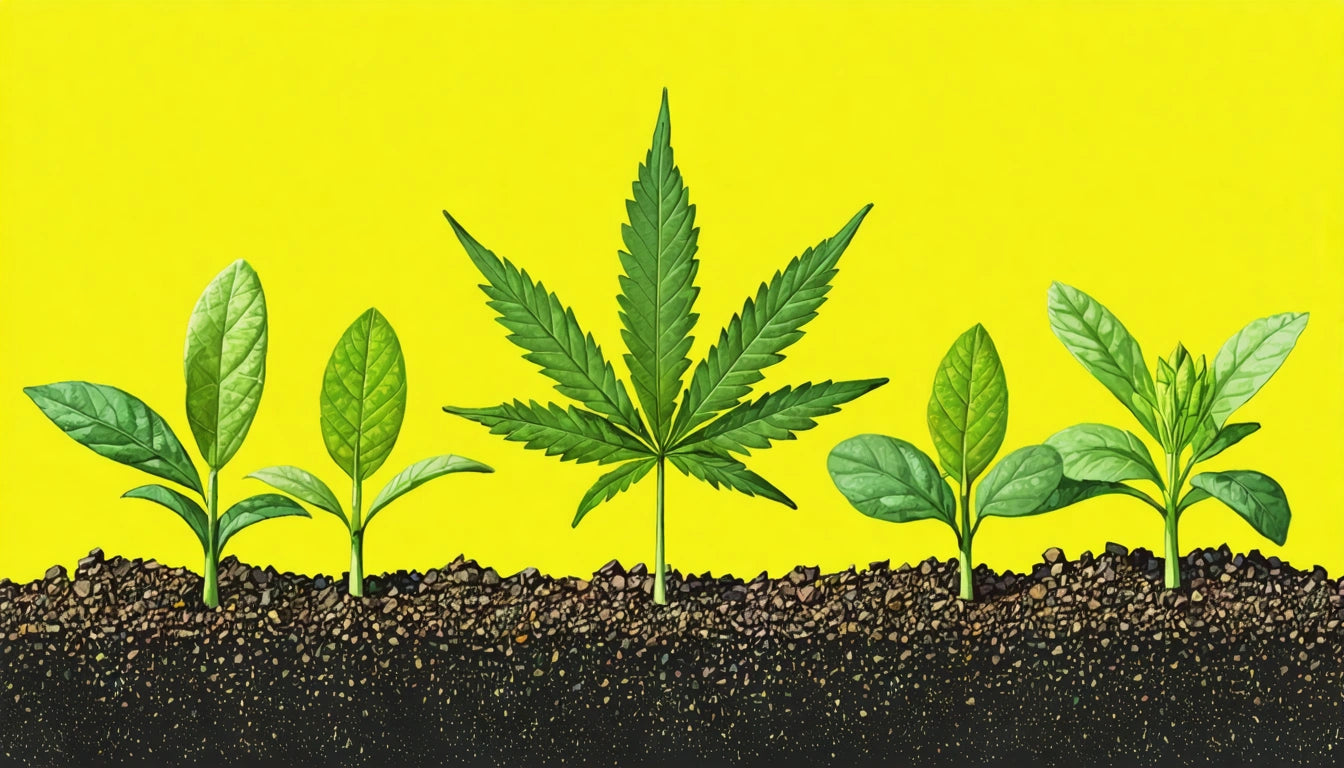
Growing dagga (cannabis) at home has become increasingly popular as regulations change worldwide. Whether you're looking to cultivate for personal use or simply enjoy gardening, understanding how to grow dagga properly ensures the best results. This comprehensive guide covers everything from initial setup to harvesting and processing your plants.
Getting Started with Dagga Cultivation
Before learning how to plant dagga, you need to understand the legal framework in your area. Many regions have specific regulations about home cultivation, including plant counts and whether growing is permitted at all. Once you've confirmed legality, gather quality seeds or clones from reputable sources.
Starting with the right genetics is crucial for successful cultivation. According to our guide for beginners, choosing between indica, sativa, or hybrid varieties depends on your growing environment and desired effects.
Ideal Growing Conditions for Dagga Plants
Lighting Requirements
Cannabis requires specific light cycles to thrive. During the vegetative stage, plants need 18-24 hours of light daily. When flowering, they require 12 hours of light and 12 hours of uninterrupted darkness. Indoor growers typically use LED, HPS, or fluorescent lighting systems.
Temperature and Humidity
Maintaining proper environmental conditions is essential when learning how to grow dagga at home. The ideal temperature range is 70-85 °F (21-29 °C) during the day and slightly cooler at night. Humidity should be 40-70% during vegetation and reduced to 40-50% during flowering to prevent mold.
Step-by-Step Guide to Planting Dagga
When you're ready to learn how to plant dagga, follow these steps:
- Germinate seeds by placing them between damp paper towels until they sprout
- Prepare small pots with quality cannabis-specific soil or coco coir
- Plant germinated seeds about 1/4 inch deep with the taproot pointing down
- Water gently and maintain high humidity (70-80%) for seedlings
- Provide 18+ hours of light daily during this early stage
For more detailed information on soil preparation and germination techniques, refer to our ultimate guide to growing cannabis at home.
Maintenance and Care Throughout the Growing Cycle
Learning how to grow dope successfully requires consistent care throughout the plant's life cycle. Regular maintenance includes:
Watering and Nutrients
Water plants when the top inch of soil feels dry. Overwatering is a common mistake for beginners. As plants grow, they'll need nutrients specific to their growth stage. Vegetative plants require higher nitrogen, while flowering plants need more phosphorus and potassium.
Training and Pruning
Training techniques like topping, LST (low-stress training), and SCROG (screen of green) help maximize yields and manage height. Regular pruning removes lower growth that receives minimal light, directing the plant's energy to developing top colas.
For processing your harvest efficiently, quality grinding equipment can save significant time and ensure consistent results, especially when preparing larger quantities for extraction or storage.
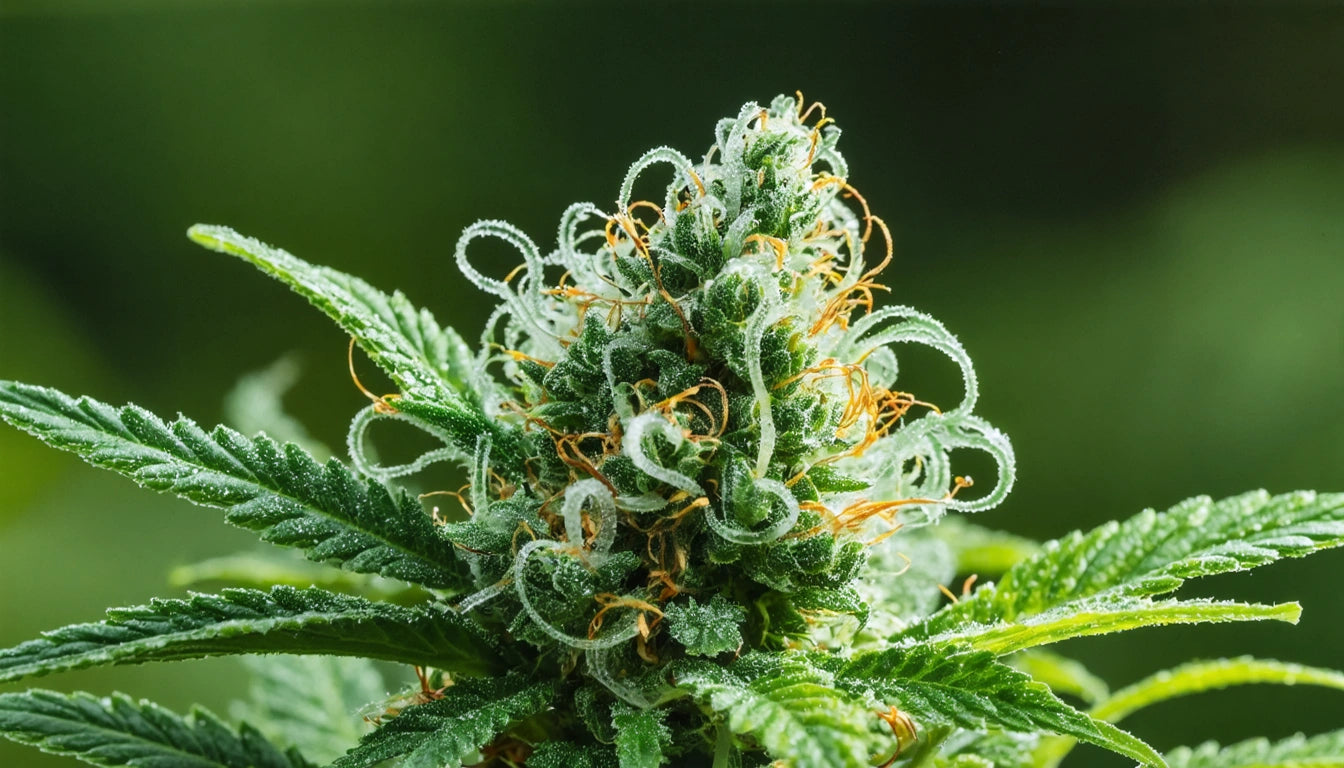
Harvesting and Curing Your Dagga
Knowing when and how to harvest is crucial for potency and flavor. Look for these signs of readiness:
- Pistils (hairs) turning from white to orange/brown (70-90%)
- Trichomes changing from clear to cloudy or amber (visible with a magnifier)
- Leaves beginning to yellow and fan leaves dropping
After harvesting, proper curing is essential. Hang trimmed branches upside down in a dark room at 60-70 °F with 45-55% humidity for 7-14 days. Once stems snap rather than bend, transfer buds to glass jars for the final cure, opening daily for the first week to release moisture.
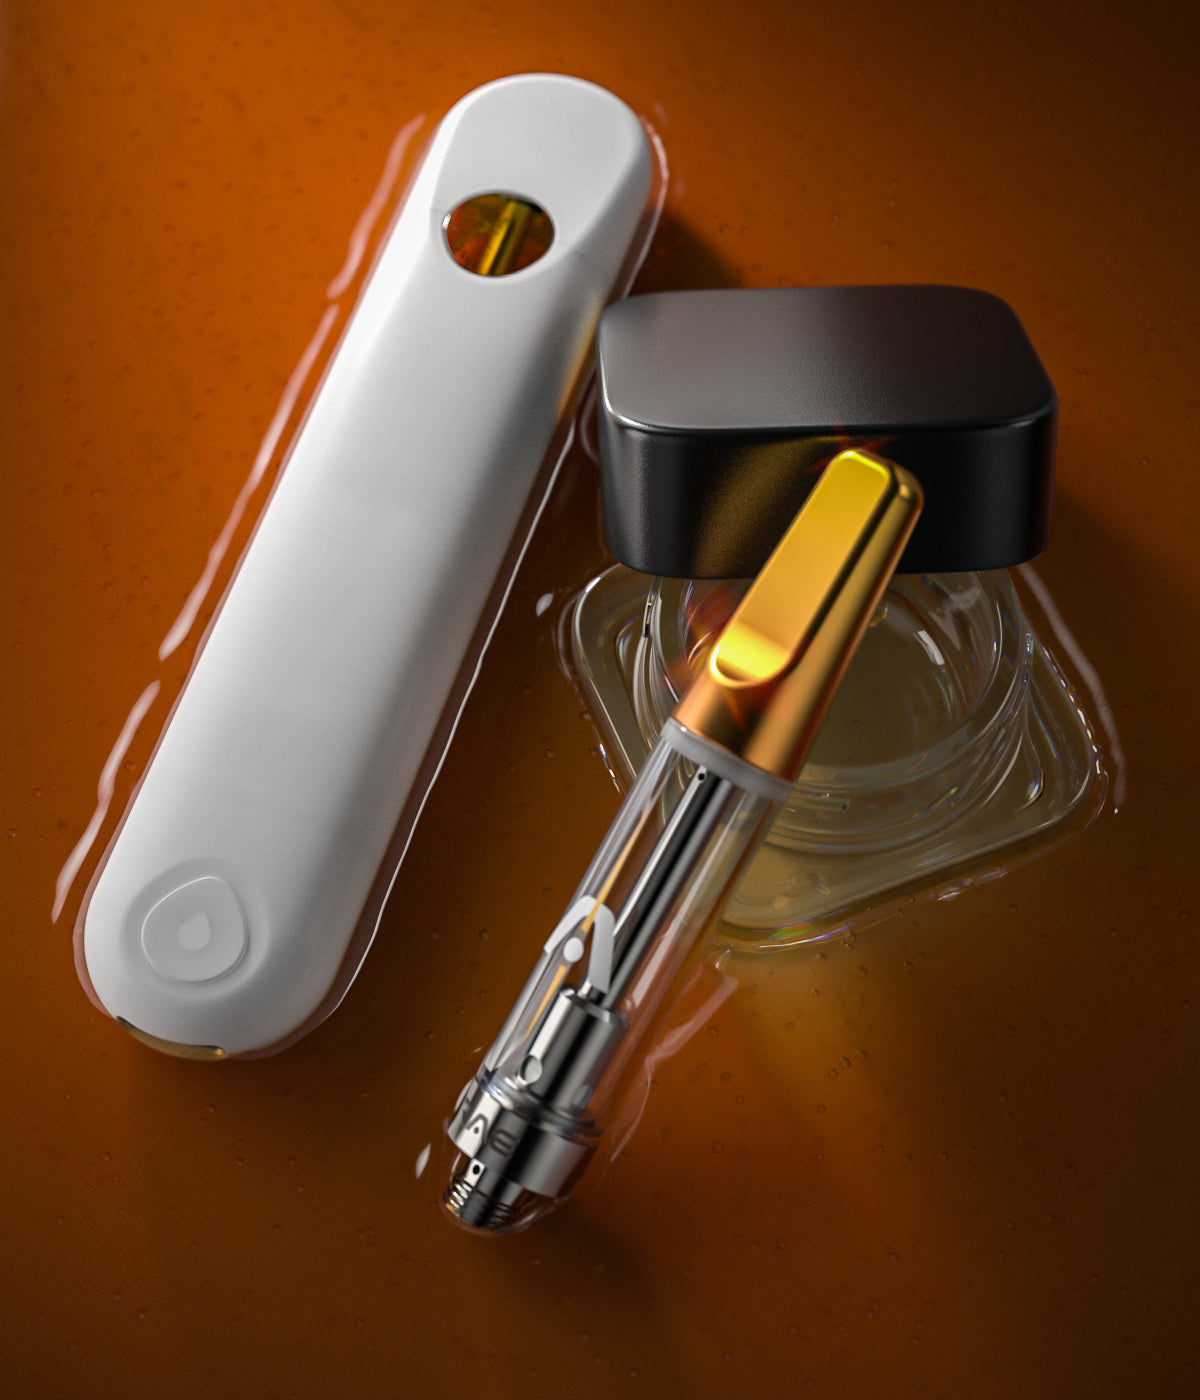
Making Dagga Oil: Methods and Applications
Learning how to make dagga oil provides another way to use your harvest. There are several extraction methods:
Alcohol Extraction
This method uses high-proof alcohol to strip cannabinoids from plant material. Grind dried cannabis, soak in alcohol, strain, and evaporate the alcohol to produce a concentrated oil. This technique requires careful handling of flammable materials.
Oil-Based Extraction
Infusing cannabis into carrier oils like coconut or olive oil creates versatile products for topical or oral use. This method is simpler and safer than alcohol extraction but produces less concentrated results.
For more advanced extraction techniques, our step-by-step guide to making cannabis concentrates offers detailed instructions.
Setting Up a Small-Scale Grow Operation
If you're wondering how to start a grow op for personal use, begin with these essentials:
- Dedicated space: Closet, tent, or spare room with controlled access
- Lighting system appropriate for your space size
- Ventilation system with carbon filter for odor control
- Temperature and humidity monitoring tools
- Timer for automating light cycles
- Quality soil, containers, and nutrients
Starting small allows you to learn the process without significant investment. Many successful home growers begin with just 2-4 plants to develop their skills before expanding.
For comprehensive guidance on setting up an efficient growing space, check out our comprehensive guide to growing marijuana at home.
Taking Your Dagga Cultivation to the Next Level
As you gain experience with how to grow dagga at home, consider these advanced techniques to improve quality and yields:
- Experiment with different growing mediums like hydroponics or living soil
- Implement automated watering and feeding systems
- Try various training techniques to find what works best for your space
- Keep detailed journals of each grow cycle to track improvements
- Consider breeding or cloning to preserve successful genetics
Remember that successful cultivation is an ongoing learning process. Each harvest provides new insights that help refine your approach. With patience and attention to detail, you can produce high-quality dagga that meets your specific preferences and needs.


Leave a comment
All comments are moderated before being published.
This site is protected by hCaptcha and the hCaptcha Privacy Policy and Terms of Service apply.