

Table of Contents
- Joint Rolling Basics: Materials and Preparation
- Step-by-Step Guide: How to Make a Joint
- Advanced Techniques: Cross Joints and Creative Variations
- Proper Enjoyment: How to Hold, Light, and Hit a Joint
- Troubleshooting Common Issues: Drooping, Canoeing, and Kief Application
- Storage and Safety: Best Practices for Joint Preservation
Mastering the Art of Rolling and Enjoying Joints: Tips, Techniques, and FAQs
Rolling the perfect joint is both an art form and a practical skill that enhances the cannabis experience. Whether you're a beginner wondering what a joint looks like or an experienced user looking to perfect your technique, this comprehensive guide covers everything from basic rolling to advanced methods like cross joints.
Joint Rolling Basics: Materials and Preparation
Before learning how to make a joint, gathering the right materials is essential. You'll need:
- Cannabis flower (ground consistently)
- Rolling papers (hemp, rice, or flavored options)
- Filter tips or crutches
- Grinder
- Clean, flat surface
Quality matters when selecting your materials. As detailed in this guide for beginners, properly ground cannabis creates an even burn, while the right rolling paper affects flavor and burn rate.
Step-by-Step Guide: How to Make a Joint
1. Prepare Your Filter
Start by creating a filter (also called a crutch or tip). Fold a small piece of thick paper or cardboard in an accordion pattern, then roll it to form a cylinder. This prevents cannabis from entering your mouth and provides structural support.
2. Arrange Your Paper
Place your rolling paper on a flat surface with the adhesive strip facing up and away from you. Position the filter at one end.
3. Add Ground Cannabis
Distribute your ground flower evenly along the crease of the paper. For beginners, this comprehensive guide recommends starting with a moderate amount to make rolling easier.
4. Shape and Roll
Using your fingers, shape the cannabis into a cylinder. Begin rolling the paper back and forth to compact the flower. This crucial step determines the joint's final shape and burn quality.
5. Seal and Finish
Tuck the unglued edge of the paper into the roll, then lick the adhesive strip and seal the joint from filter to tip. Mastering the art of sealing ensures your joint stays intact during use.
Advanced Techniques: Cross Joints and Creative Variations
Once you've mastered basic joints, you might wonder how to make a cross joint, popularized by cannabis culture. This advanced technique requires:
- Two joints (one larger, one smaller)
- A needle or pin
- Patience and precision
To create a cross joint, first roll two separate joints. Make a hole in the middle of the larger joint using a needle. Then, create a hole through the smaller joint near one end. Slide the smaller joint through the hole in the larger one, ensuring all three ends can be lit simultaneously.
For those interested in joint alternatives, this resource on creative alternatives offers innovative approaches beyond traditional rolling.
Proper Enjoyment: How to Hold, Light, and Hit a Joint
How to Hold a Joint
Hold the joint between your thumb and index finger, with the filter end toward you. Keep a relaxed grip to avoid crushing or restricting airflow. For longer sessions, consider using a joint holder or clip to prevent finger burns and maintain cleanliness.
How to Light a Joint
When lighting a joint, rotate it while applying the flame to ensure an even burn. Take small puffs while lighting rather than inhaling deeply. Once lit, take a moment to check that the cherry (burning tip) is burning evenly.
How to Hit a Joint
Draw the smoke into your mouth first, then inhale into your lungs if desired. Take measured puffs rather than heavy drags to prevent coughing and enjoy the flavor profile. Remember to pass quickly in social settings to prevent the joint from burning unevenly.
Troubleshooting Common Issues: Drooping, Canoeing, and Kief Application
Preventing Drooping Joints
To keep a joint from drooping, ensure proper compaction during rolling and use quality filters. If your joint begins to droop while smoking, gently rotate it to redistribute the heat and ash.
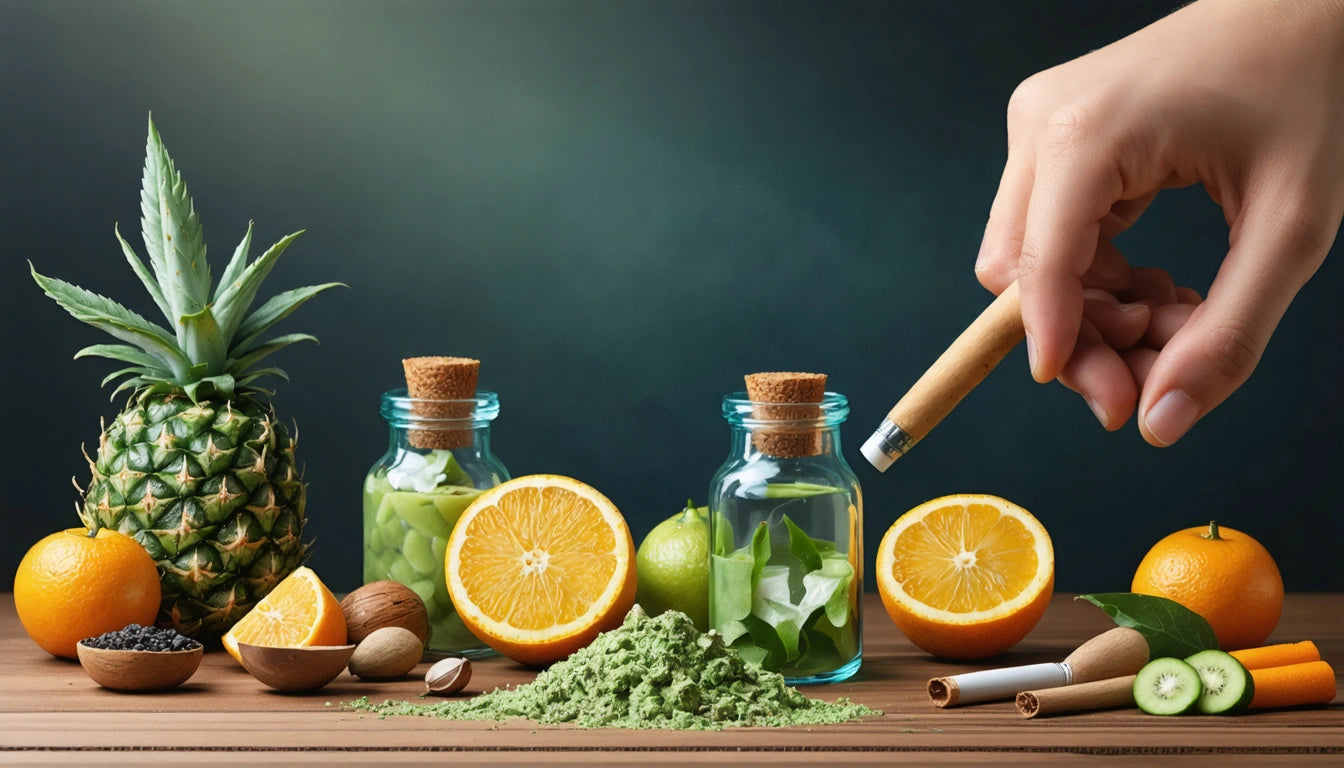
Getting Kief to Stick
Many enthusiasts wonder how to get kief to stick on a joint. The key is applying a thin layer of honey or cannabis oil to the outside of your rolled joint, then rolling it in kief. This creates a "moonrock joint" effect with enhanced potency.
Fixing Uneven Burns
If your joint begins "canoeing" (burning unevenly down one side), rotate it while smoking and use your lighter to even out the burn. This guide on maintaining a burning joint offers additional troubleshooting tips.
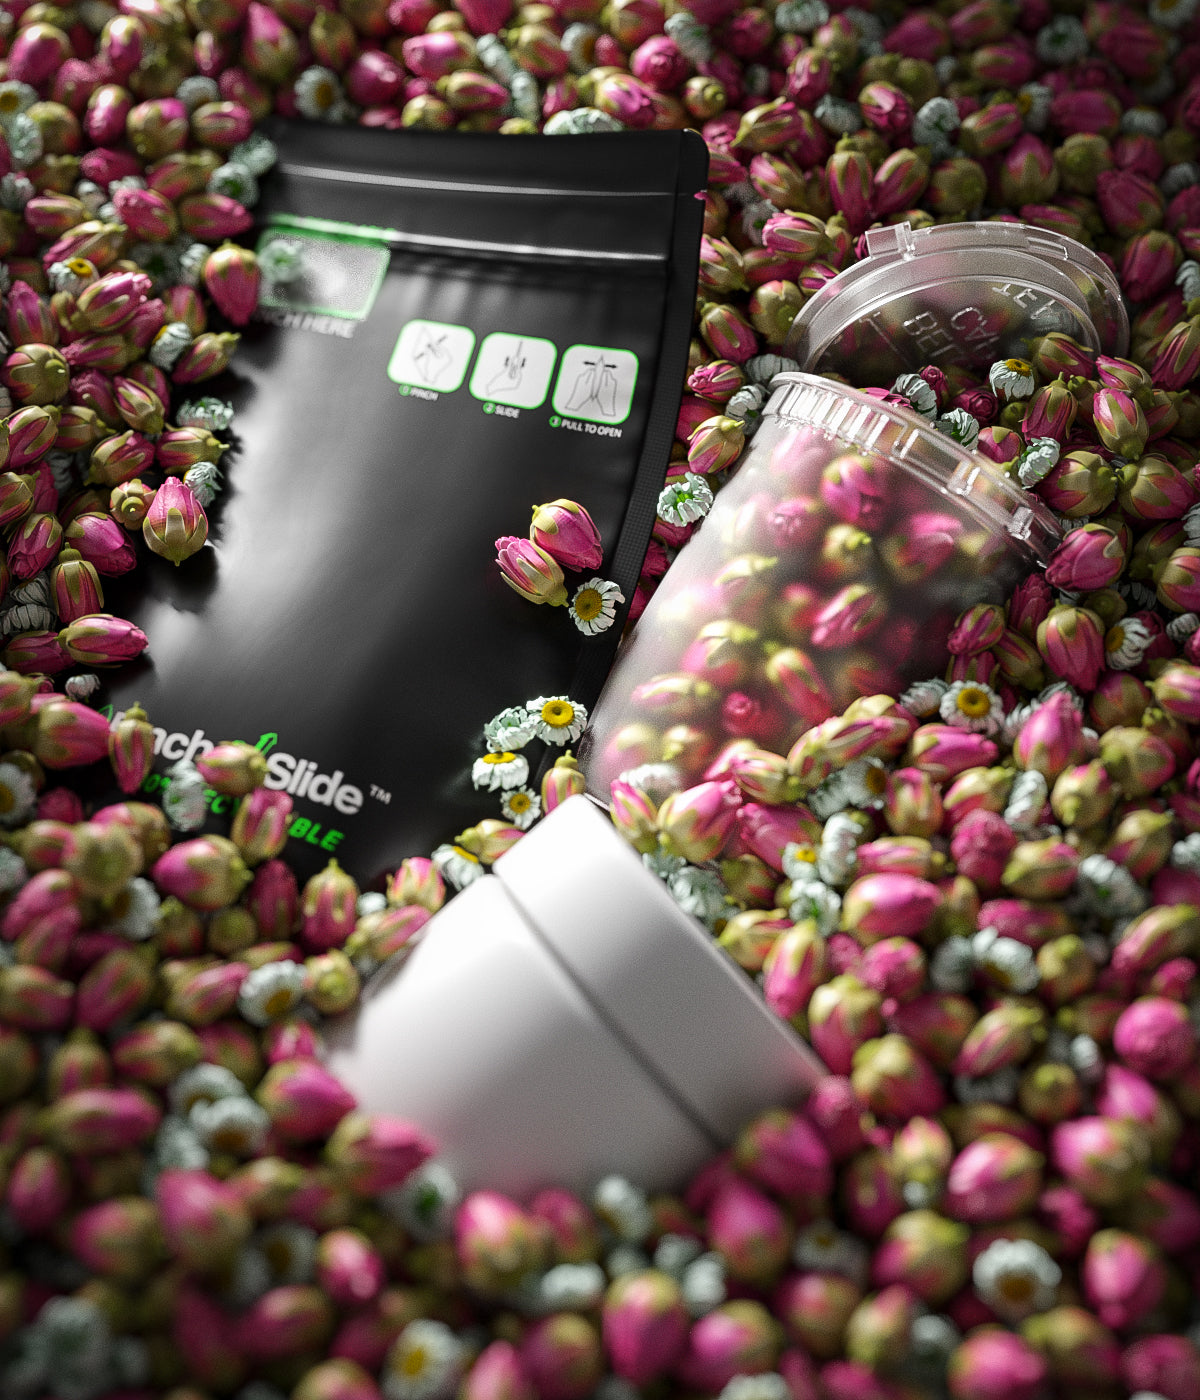
Storage and Safety: Best Practices for Joint Preservation
Proper storage extends the freshness and potency of pre-rolled joints. Use airtight containers stored in cool, dark places. For those concerned about child safety, specialized child-resistant containers provide necessary protection while maintaining product integrity.
When traveling with joints, these storage tips recommend using doob tubes or pre-roll containers to prevent crushing and odor leakage.
Whether you're learning how to roll your first joint or perfecting advanced techniques, remember that practice leads to improvement. Each attempt builds muscle memory and understanding of how different variables affect the final product. With time and patience, you'll develop your signature rolling style and create joints that burn perfectly every time.

Leave a comment
All comments are moderated before being published.
This site is protected by hCaptcha and the hCaptcha Privacy Policy and Terms of Service apply.