


Table of Contents
Mastering the Art of Rolling the Perfect Joint: Tips and Techniques for Beginners
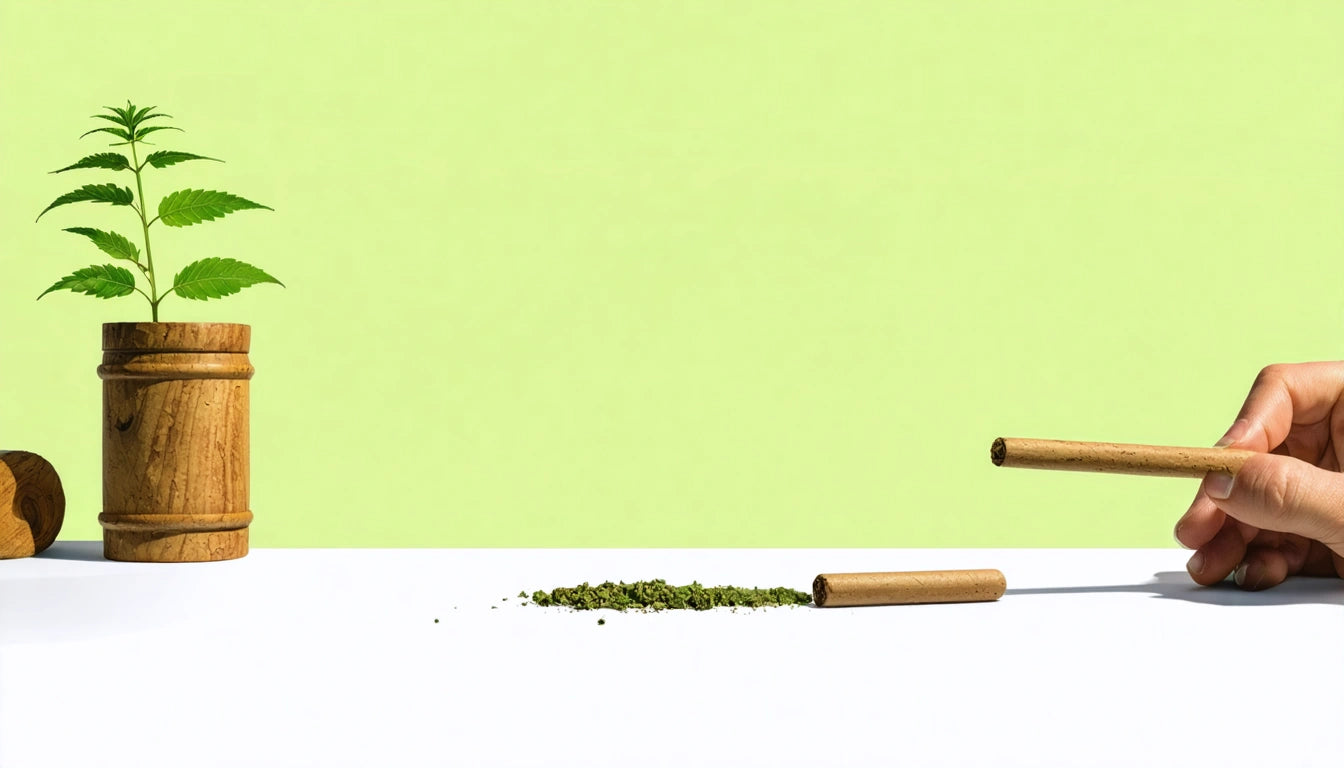
Learning how to roll a joint is often considered a rite of passage for cannabis enthusiasts. While it may seem intimidating at first, with the right guidance and practice, anyone can master this essential skill. This comprehensive guide will walk beginners through everything they need to know about rolling the perfect joint, from gathering supplies to troubleshooting common issues.
Essential Supplies for Rolling the Perfect Joint
Before attempting to roll a joint, ensure you have all the necessary supplies:
- Rolling papers: Available in various sizes and materials (hemp, rice, etc.)
- Grinder: For consistent texture
- Filter tips/crutches: Provides structure and prevents clogging
- Cannabis flower: Properly dried and cured
- Rolling tray: Keeps everything organized and prevents waste
- Joint roller (optional): Helpful for beginners
Quality materials make a significant difference in your rolling experience. As outlined in this comprehensive guide for beginners, investing in good papers and proper grinding techniques sets the foundation for success.
Hand Rolling Basics: Step-by-Step Guide
1. Prepare Your Materials
Grind your cannabis to a medium consistency, not too fine or too chunky. Create a filter tip by folding a small piece of cardstock in an accordion pattern, then rolling it into a cylinder.
2. Form the Paper
Place your rolling paper on a flat surface with the adhesive strip facing up and away from you. Position your filter tip at one end of the paper.
3. Add Cannabis and Shape
Distribute ground cannabis evenly along the crease of the paper. Use your fingers to shape it into a cylindrical form, ensuring even distribution.
4. Roll and Tuck
Hold the paper between your fingers with thumbs facing toward you. Roll the non-adhesive edge up and over the cannabis, tucking it under and around your material. This tuck is crucial for how to roll a tight joint.
5. Seal and Finish
Once tucked, continue rolling upward until only the adhesive strip remains exposed. Lick the adhesive strip lightly and complete the roll by sealing it. Twist the open end to secure the contents.
For those who prefer visual guidance, this detailed tutorial on sealing and wrapping provides additional insights.
Joint Roller Techniques: Making it Easier
For those struggling with hand rolling, learning how to use a joint roller can simplify the process significantly:
1. Open the Roller
Pull apart the two rollers to create an open channel.
2. Place Filter and Cannabis
Position your filter at one end and distribute your ground cannabis evenly across the channel.
3. Close and Roll
Close the roller and roll it forward (away from you) several times until the material compacts.
4. Insert Paper
With the adhesive strip facing you and slightly sticking out, insert the rolling paper between the rollers.
5. Seal and Remove
Continue rolling forward, lick the exposed adhesive, complete a few more rolls, then open the roller to retrieve your perfectly rolled joint.
If you're looking for convenience without sacrificing quality, pre-rolled cones and custom rolling solutions offer an excellent alternative that delivers consistent results every time.
Common Rolling Mistakes and How to Avoid Them
Even experienced rollers encounter challenges. Here are solutions to common problems when learning how to roll a joint for beginners:
- Uneven burning: Ensure even distribution of cannabis and proper rolling tension
- Joint too loose: Practice the tucking technique and maintain even pressure
- Paper tearing: Handle papers with dry fingers and avoid excessive moisture
- Canoeing: Rotate the joint while smoking and ensure even packing
- Filter falling out: Make sure it's properly integrated during the rolling process
As mentioned in this comprehensive guide to rolling with and without filters, proper technique develops with practice and patience.
Advanced Techniques: Cross Joints and Beyond
Once you've mastered the basics of how to roll a perfect joint, you might want to explore more complex techniques:
How to Roll a Cross Joint
Made famous by popular culture, the cross joint requires:
- Roll a standard joint (the main joint)
- Roll a smaller joint (the cross piece)
- Create a hole in the main joint using a toothpick
- Create a hole in the cross piece
- Insert the cross piece through the main joint
- Seal the intersection with a strip of rolling paper
For those interested in creative alternatives, this resource on creative joint rolling offers inspiration and practical advice.
Mastering Your Technique Through Practice and Patience
Becoming proficient at rolling joints takes time and repetition. Each attempt improves your dexterity and understanding of the process. Remember that even experienced rollers had to start somewhere.
Keep these final tips in mind:
- Practice with herbs or tobacco before using cannabis
- Roll over a tray to catch any spilled material
- Take your time and don't rush the process
- Experiment with different papers and filters to find your preference
- Consider how to properly extinguish your joint for later use, as detailed in this guide on joint maintenance
Whether you choose to roll by hand or learn how to use a joint roller, the satisfaction of creating your own perfectly rolled joint is well worth the effort. With these techniques and consistent practice, you'll soon be rolling joints that burn evenly, draw smoothly, and impress your friends with your newfound skill.


Leave a comment
All comments are moderated before being published.
This site is protected by hCaptcha and the hCaptcha Privacy Policy and Terms of Service apply.