


Table of Contents
Understanding and Creating Your Own Gravity Bong: A DIY Guide and Comparison
Gravity bongs have earned their place in cannabis culture as an innovative, powerful, and cost-effective smoking method. Whether you're looking to make your own gravity bong with household items or simply understand how these devices work, this comprehensive guide covers everything you need to know about this unique consumption method.
What is a Gravity Bong and How Does It Work?
A gravity bong utilizes water and air pressure to force concentrated smoke into your lungs. Unlike traditional smoking methods, gravity bongs create a dense, potent hit that can deliver effects more efficiently than standard methods.
The science behind how gravity bongs work is simple but ingenious. They use water displacement to draw smoke into a chamber and then use that same water's movement to push the smoke into your lungs. This creates a unique smoking experience that many enthusiasts prefer for its intensity and efficiency.
Materials Needed for a DIY Gravity Bong
Creating a gravity bong at home requires just a few common household items:
- Two plastic bottles (one larger than the other)
- A bowl piece (can be improvised from aluminum foil, though glass or metal is safer)
- Scissors or a knife
- Something to create a small hole (like a thumbtack or pen)
- Water
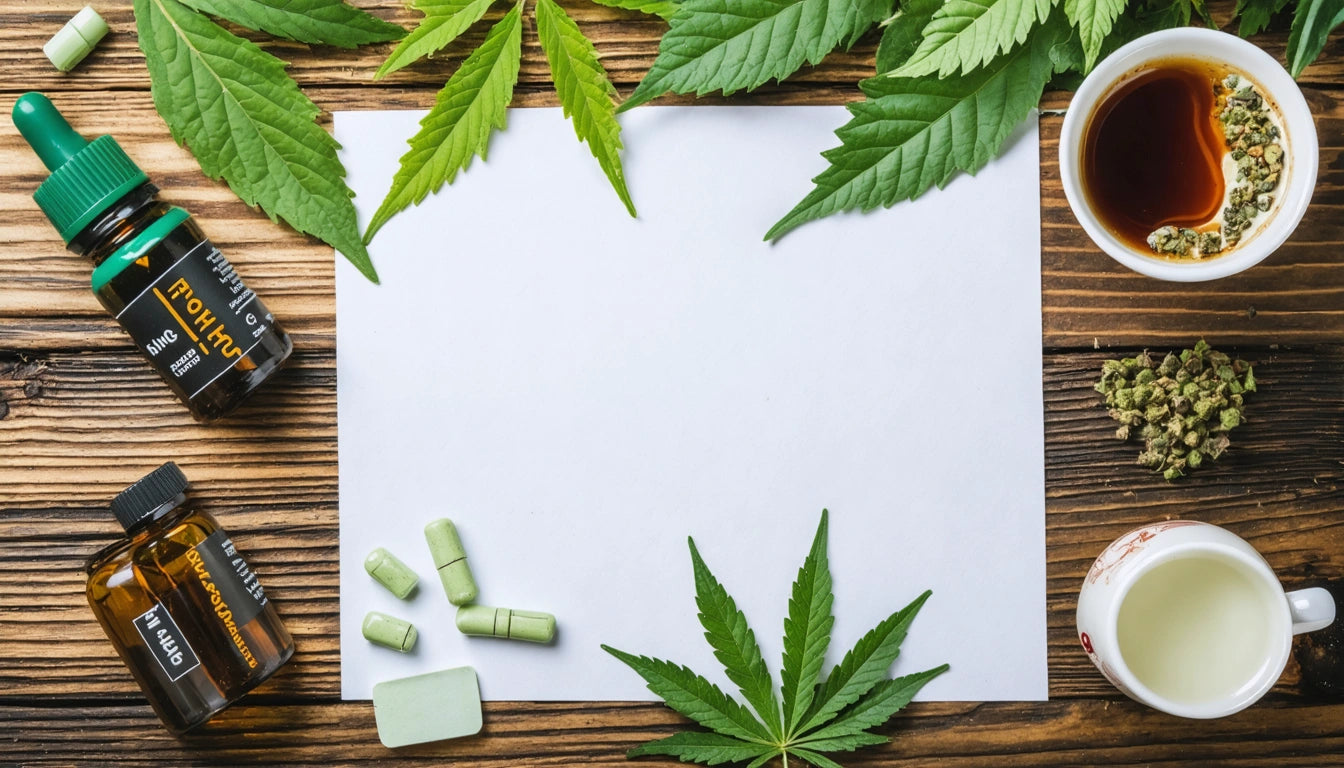
- Your chosen herb
For those concerned about proper storage of their herbs before use, high-quality mylar storage bags can help maintain freshness and potency until you're ready to use them in your gravity bong.
Step-by-Step Guide to Making a Gravity Bong
The Bucket Method (Traditional Gravity Bong)
This is the most common DIY gravity bong setup:
- Cut the bottom off the smaller bottle
- Remove the cap from the smaller bottle and create a bowl by making a hole in it and inserting your bowl piece or creating one from foil
- Fill the larger bottle or container with water
- Place the smaller bottle in the water, keeping the cap/bowl above water
- Pack your bowl with ground herb
- Light the herb while slowly pulling the smaller bottle upward, allowing it to fill with smoke
- Remove the cap/bowl and push the bottle down while inhaling the smoke
The Waterfall Method (Variation)
This alternative approach to making a gravity bong requires just one bottle:
- Create a hole near the bottom of a plastic bottle
- Cover this hole with your finger
- Fill the bottle with water while keeping the hole covered
- Attach a bowl to the top of the bottle
- Light the herb and remove your finger from the hole
- As water drains, smoke fills the bottle
- Cover the hole, remove the bowl, and inhale
Both methods demonstrate how to make a gravity bong with a water bottle, though the bucket method tends to be more popular among beginners.
Gravity Bong vs Regular Bong: Key Differences
When comparing gravity bongs to regular bongs, several key differences emerge:
| Feature | Gravity Bong | Regular Bong |
|---|---|---|
| Cost | Very low (DIY) | Moderate to high |
| Hit intensity | Very strong | Moderate |
| Filtration | Minimal | Better (water filtration) |
| Portability | Typically homemade, not portable | Varies by size |
| Durability | Temporary | Long-lasting |
While both devices use water, they function quite differently. Traditional bongs filter smoke through water for a smoother hit, while gravity bongs use water pressure to create a concentrated hit.
The gravity bong vs regular bong debate often comes down to personal preference, though gravity bongs are known for delivering more potent effects with less material.
What is a Stundenglass Gravity Bong?
The Stundenglass gravity bong represents the high-end evolution of the DIY concept. This premium device uses a 360-degree rotating glass system that creates a kinetic motion water system to generate smooth, consistent hits.
Unlike homemade versions, the Stundenglass:
- Is made of high-quality borosilicate glass and aircraft-grade aluminum
- Features a contactless smoke delivery system
- Provides precise dosage control
- Offers superior filtration
- Can be used with dry herb or concentrates
While significantly more expensive than a DIY gravity bong, the Stundenglass represents the pinnacle of gravity bong technology for those seeking a premium experience.
Best Practices for Using Your Gravity Bong
To get the most out of your gravity bong experience:
- Use fresh, properly ground herb for optimal burning
- Start with small amounts, especially if you're new to gravity bongs
- Ensure your bowl is properly sealed to prevent smoke loss
- Replace homemade components regularly for health safety
- Consider cleaning techniques similar to regular bongs
For maintenance, proper water levels and regular cleaning are essential, just as with traditional bongs.
Future Innovations in Gravity Bong Technology
The humble gravity bong continues to evolve from its DIY roots. Modern innovations include:
- Hybrid systems combining gravity function with percolation
- Portable, travel-friendly gravity bong designs
- Food-grade materials for safer consumption
- Integration with other consumption technologies
As cannabis consumption becomes more mainstream, we can expect further refinements to gravity bong designs that enhance the experience while addressing health and safety concerns associated with traditional DIY versions.
Whether you opt for a simple homemade setup or invest in a premium device like the Stundenglass, gravity bongs offer a unique way to experience cannabis that many enthusiasts find superior to conventional methods.
Leave a comment
All comments are moderated before being published.
This site is protected by hCaptcha and the hCaptcha Privacy Policy and Terms of Service apply.