

Table of Contents
- Understanding the Cannabis Drying Process
- Ideal Drying Conditions for Cannabis
- How to Dry Your Buds: Step-by-Step Guide
- Quick Dry Methods for Cannabis
- How to Know When Buds Are Dry Enough
- The Curing Process: Enhancing Quality and Potency
- Common Mistakes to Avoid When Drying and Curing
- Essential Equipment for Proper Drying and Curing
Effective Methods for Drying and Curing Cannabis Buds
Proper drying and curing of cannabis buds is perhaps the most crucial post-harvest process that determines the quality, potency, flavor, and longevity of your final product. Many cultivators invest significant time and resources into growing premium cannabis only to fall short during these final stages. This comprehensive guide explores the best way to dry and cure buds, ensuring optimal results for both personal and commercial applications.
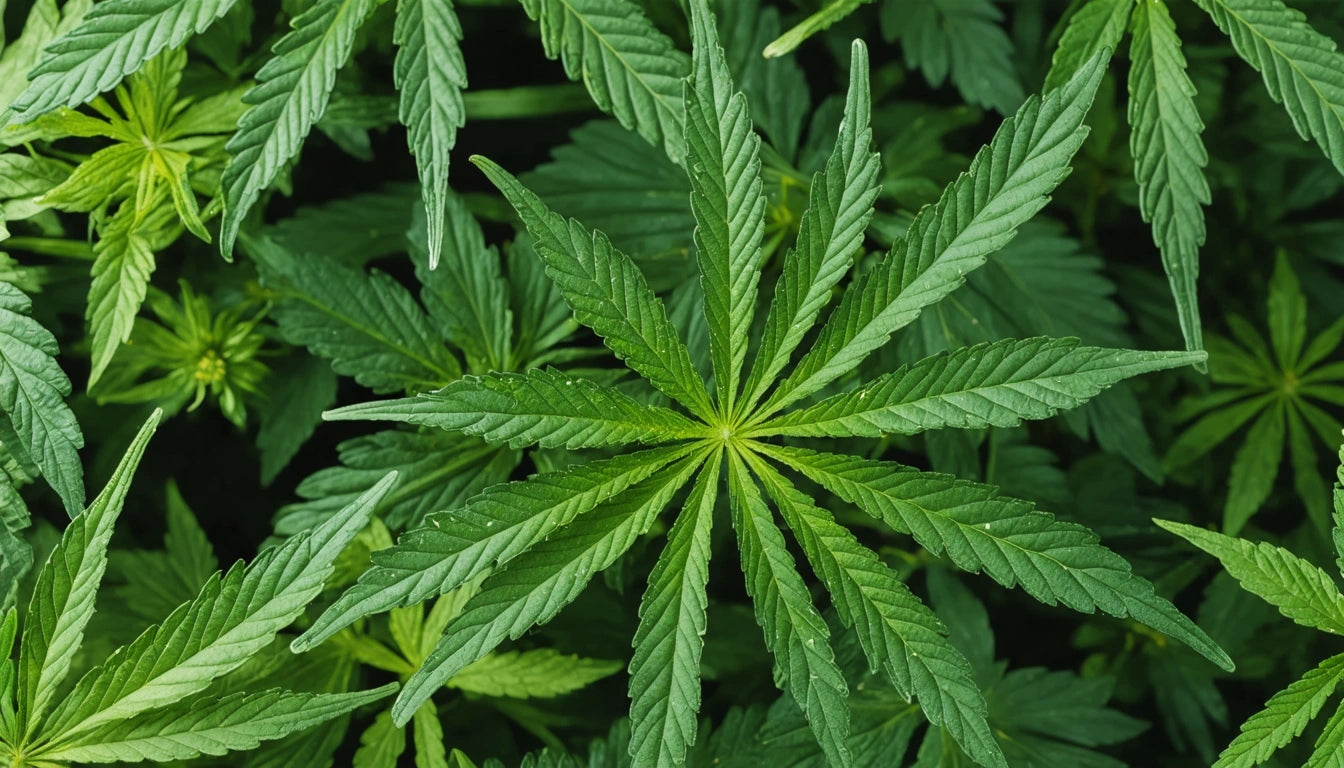
Understanding the Cannabis Drying Process
Drying cannabis is not merely about removing moisture but doing so at a rate that preserves terpenes, cannabinoids, and other valuable compounds. The process begins immediately after harvest and typically takes 7-10 days, depending on environmental conditions and bud density.
During drying, several critical biological processes occur:
- Chlorophyll breaks down, reducing harsh flavors
- Water-soluble sugars and starches degrade
- Terpene profiles mature and stabilize
- THC converts from its acidic form (THCA) to its active form
Proper drying techniques prevent mold growth while preserving the plant's natural compounds, directly impacting the smoking experience and medicinal benefits.
Ideal Drying Conditions for Cannabis
Creating the right environment is essential for how to dry your buds properly. The ideal conditions include:
Temperature
Maintain 60-70 °F (15-21 °C). Higher temperatures can degrade terpenes and accelerate drying too quickly, while lower temperatures slow the process and risk mold development.
Humidity
Target 45-55% relative humidity. This range allows moisture to escape gradually without drying the outer layers too quickly or trapping moisture inside.
Air Circulation
Gentle, indirect airflow helps maintain consistent drying. Direct fans can cause uneven drying and terpene loss.
Light Exposure
Keep drying areas dark. UV light degrades cannabinoids and terpenes, reducing potency and flavor.
How to Dry Your Buds: Step-by-Step Guide
Following a methodical approach is the best way to dry buds consistently:
- Trimming Decision: Choose between wet trimming (before drying) or dry trimming (after). Each has advantages depending on humidity levels and available space.
- Hanging Method: Hang branches upside down on drying lines, ensuring adequate spacing between branches.
- Environmental Control: Monitor and adjust temperature and humidity daily using hygrometers.
- Patience: Allow 7-10 days for proper drying. Timing varies based on bud density and environmental conditions.
For larger operations, dedicated drying rooms with environmental controls offer more consistent results. Home growers can achieve excellent results using converted closets or small tents with basic humidity control.
When determining how long to dry buds before jarring, focus on the stem snap test rather than strict timelines. Properly dried stems should snap cleanly rather than bend.
Quick Dry Methods for Cannabis
While traditional drying is preferred for premium quality, sometimes circumstances require learning how to quick dry buds. These methods sacrifice some quality for speed:
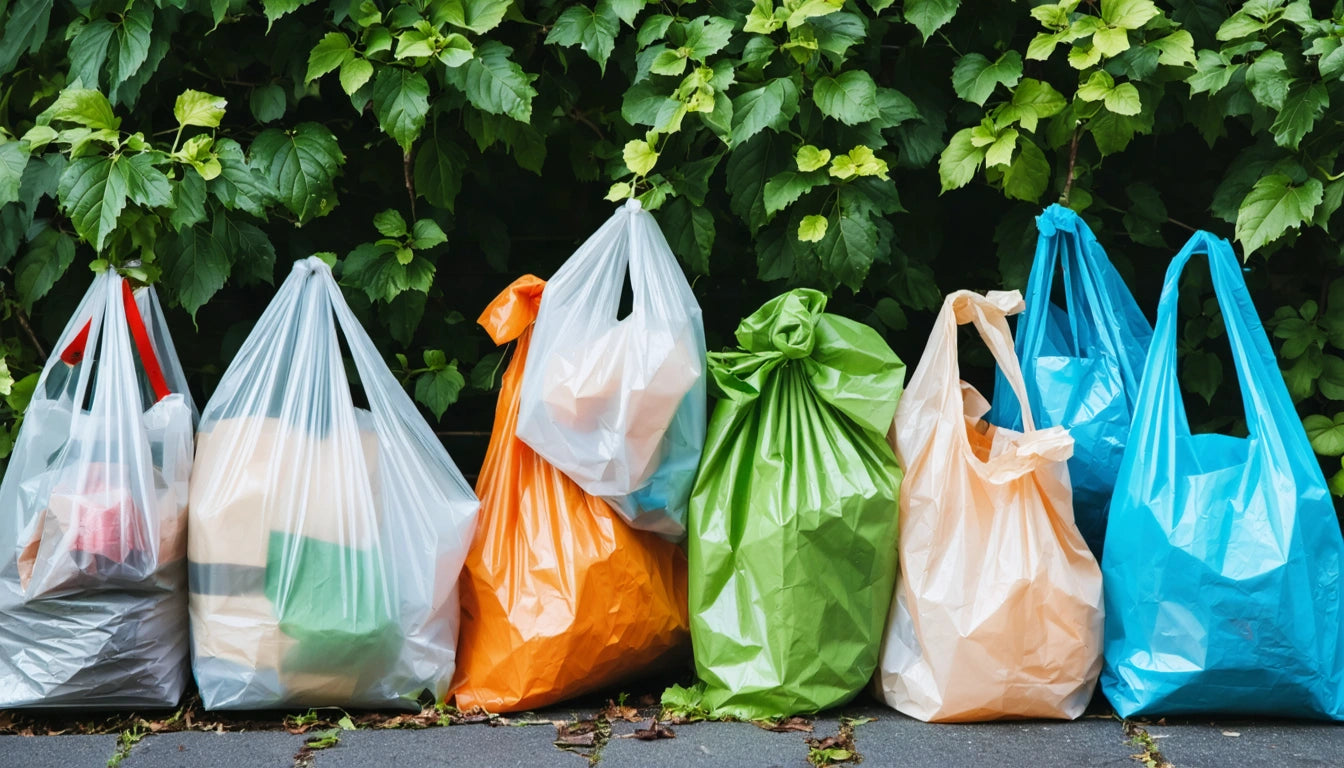
Paper Bag Method
Place trimmed buds in paper bags, folding the top closed. Check and gently shake every 12 hours. This method typically takes 3-5 days and preserves more terpenes than other quick methods.
Food Dehydrator
Use on the lowest heat setting (under 95 °F/35 °C) for 24-48 hours. While fast, this significantly impacts flavor and smoothness.
Oven Method
The fastest but most detrimental to quality. Place buds on parchment paper at the lowest oven setting (150 °F/65 °C or less) for 10-15 minutes, checking frequently.
Quick drying techniques should be reserved for sample testing or genuine emergencies, as they significantly reduce quality.
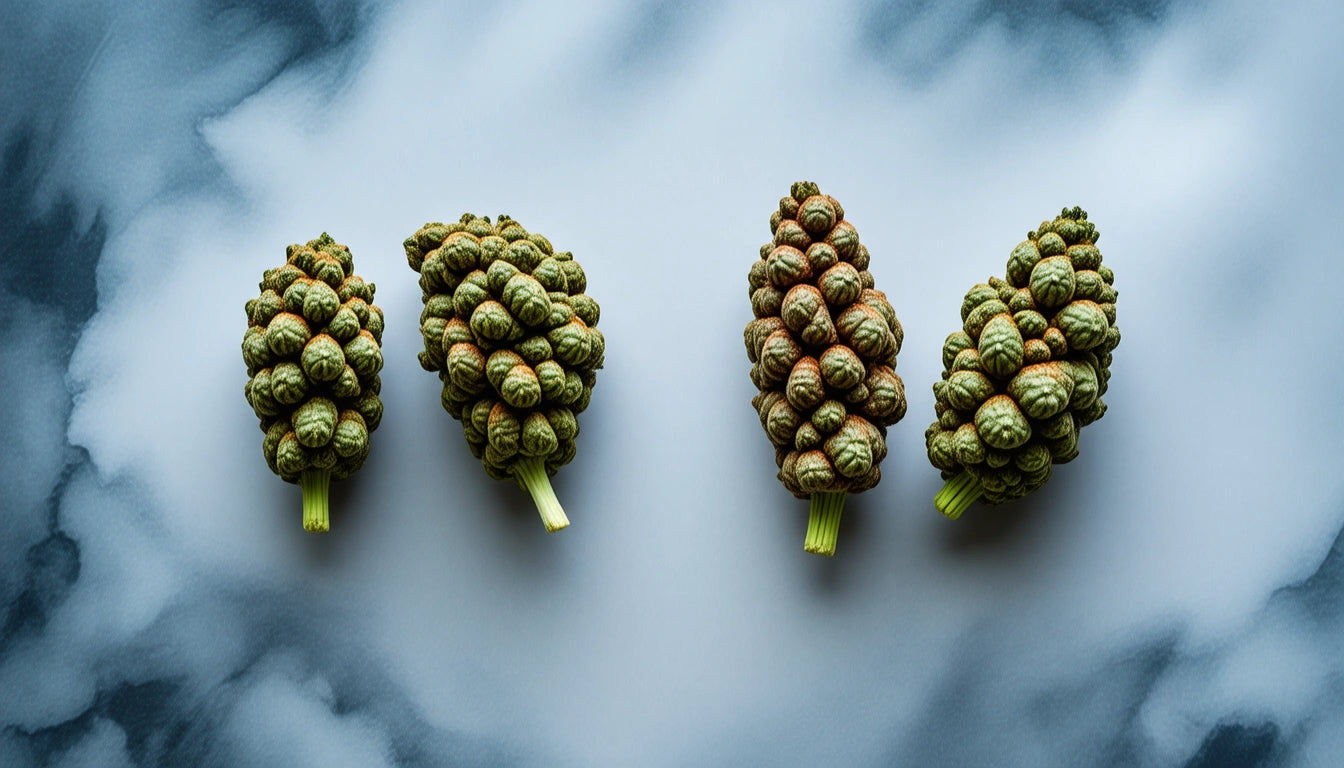
How to Know When Buds Are Dry Enough
Determining when cannabis is properly dried is crucial before beginning the curing process. Here's how to know when buds are dry enough:
- Stem Snap Test: Small stems should snap cleanly rather than bend or remain flexible.
- Touch Test: Buds should feel dry on the outside but not brittle or powdery.
- Moisture Content: Ideally between 10-12%. For precise measurements, accurate digital scales can help track weight loss during drying to estimate moisture content.
If buds feel too dry, they've likely dried too quickly. If they feel damp or spongy, they need more drying time to prevent mold during curing.
The Curing Process: Enhancing Quality and Potency
Curing begins after drying and involves storing buds in airtight containers to allow for slow moisture equalization and continued metabolic processes. Proper curing dramatically improves flavor, smoothness, and potency.
Curing Steps
- Container Selection: Use glass mason jars filled 75% to allow airspace.
- Initial Burping: Open jars 2-3 times daily for 5-10 minutes during the first week.
- Ongoing Maintenance: Reduce to once daily in week two, then several times weekly for weeks 3-4.
- Long-term Curing: After 4 weeks, buds are considered adequately cured, though many connoisseurs continue for 6+ months for premium results.
Humidity control packs (62%) can help maintain optimal moisture levels during curing, especially for beginners or in challenging environments.
Common Mistakes to Avoid When Drying and Curing
Even experienced growers can fall prey to these common errors:
- Rushing the Process: Attempting to accelerate drying invariably reduces quality.
- Improper Humidity: Too high risks mold; too low causes brittle, harsh-smoking buds.
- Inconsistent Environment: Fluctuations in temperature and humidity create uneven results.
- Overcrowding: Hanging branches too close together restricts airflow and promotes mold.
- Contamination: Drying in areas with strong odors (kitchen, garage) can impact flavor profiles.
Proper drying techniques require patience and attention to detail but reward you with significantly improved final products.
Essential Equipment for Proper Drying and Curing
Investing in the right tools makes achieving consistent results much easier:
- Hygrometers for monitoring humidity levels
- Thermometers for temperature control
- Drying racks or lines for proper hanging
- Air circulation fans (indirect airflow)
- Humidity control packs for curing jars
- Glass mason jars for curing
- Environmental controllers for larger operations
For commercial operations, specialized equipment like drying rooms with precise environmental controls can significantly improve consistency and reduce labor costs.
The drying and curing process represents the final opportunity to influence your cannabis quality. By understanding how to dry and cure buds properly, you transform raw plant material into a refined product with enhanced potency, flavor profiles, and shelf stability. Whether you're a home grower or commercial producer, these techniques ensure your efforts throughout the growing cycle culminate in the highest quality final product.
Leave a comment
All comments are moderated before being published.
This site is protected by hCaptcha and the hCaptcha Privacy Policy and Terms of Service apply.